blooper reel
03 Apr 2019Wew, it’s been a while! Time for a very long update: some learning/progress, some hilarious fails.
I have a shocking update: I bought more stuff. If you’ve followed my progress so far, you know I’ve been struggling with issues trying to use my Sony camera. I knew I wanted to upgrade to something better suited for astrophotography, but I had been waffling for a long time: should I get a dedicated astrophotography camera (and with it, the requirement that my setup will now be somewhat more complicated and involve a computer), or should I just buy a modern modded DSLR? The latter seemed more ridiculous the more I thought about it – I have no need for a new terrestrial camera (my Sony is awesome), and if I’m gonna drop a bunch of money on a camera, I may as well get one dedicated to astrophotography. This unfortunately means I’d have to give up the convenience of a DSLR (portability, liveview, etc) in favor of using a laptop to control my camera. I use computers for a living, and I have a decades-long traumatic abusive relationship with Windows, so this prospect was unpleasant, but I decided it was necessary nonetheless.
The next dilemma: monochrome or color? In every normal terrestrial camera, the sensor has a bayer array filtering the light before it hits the sensor and thus you get RGB images (for more on how this works, see this explanation). This is convenient, but has some drawbacks: because every shot is filtered, the total light actually getting to your sensor is greatly decreased, so in general it’s not as sensitive or efficient. In addition, an RGB sensor means that you are limited to the RGB spectrum (unless you mod the camera by removing the infrared filter, which many people do), which means that imaging non-visible parts of the spectrum (which many nebulas and galaxies emit light in) is at least more complicated. A monochrome camera doesn’t have these limitations, but comes with drawbacks of its own: to create RGB images, you need filters in front of the sensor for whatever part of the spectrum you’re hoping to photograph in, and combine them all later in software.
tl;dr: Ultimately I decided on mono, and decided to go with the fairly well-regarded ZWO ASI1600mm pro, which has the added benefit of having an actively cooled sensor. Sensor noise increases with heat, so the cooler your sensor, the less noise you’ll get. This camera can cool down to delta 30C below ambient temperature, as low as -40C. Pretty cool! You can buy convenient kits that also come with the ZWO EFW (Electronic Filter Wheel), which is what it sounds like – a wheel of filters that can be controlled via USB from your computer, so that you can just pick what part of the spectrum you want to photograph. It also came with a set of filters: Luminosity, Red, Green, Blue, Sulfur II (SII), Oxygen II (OII), and Hydrogen Alpha (Ha).
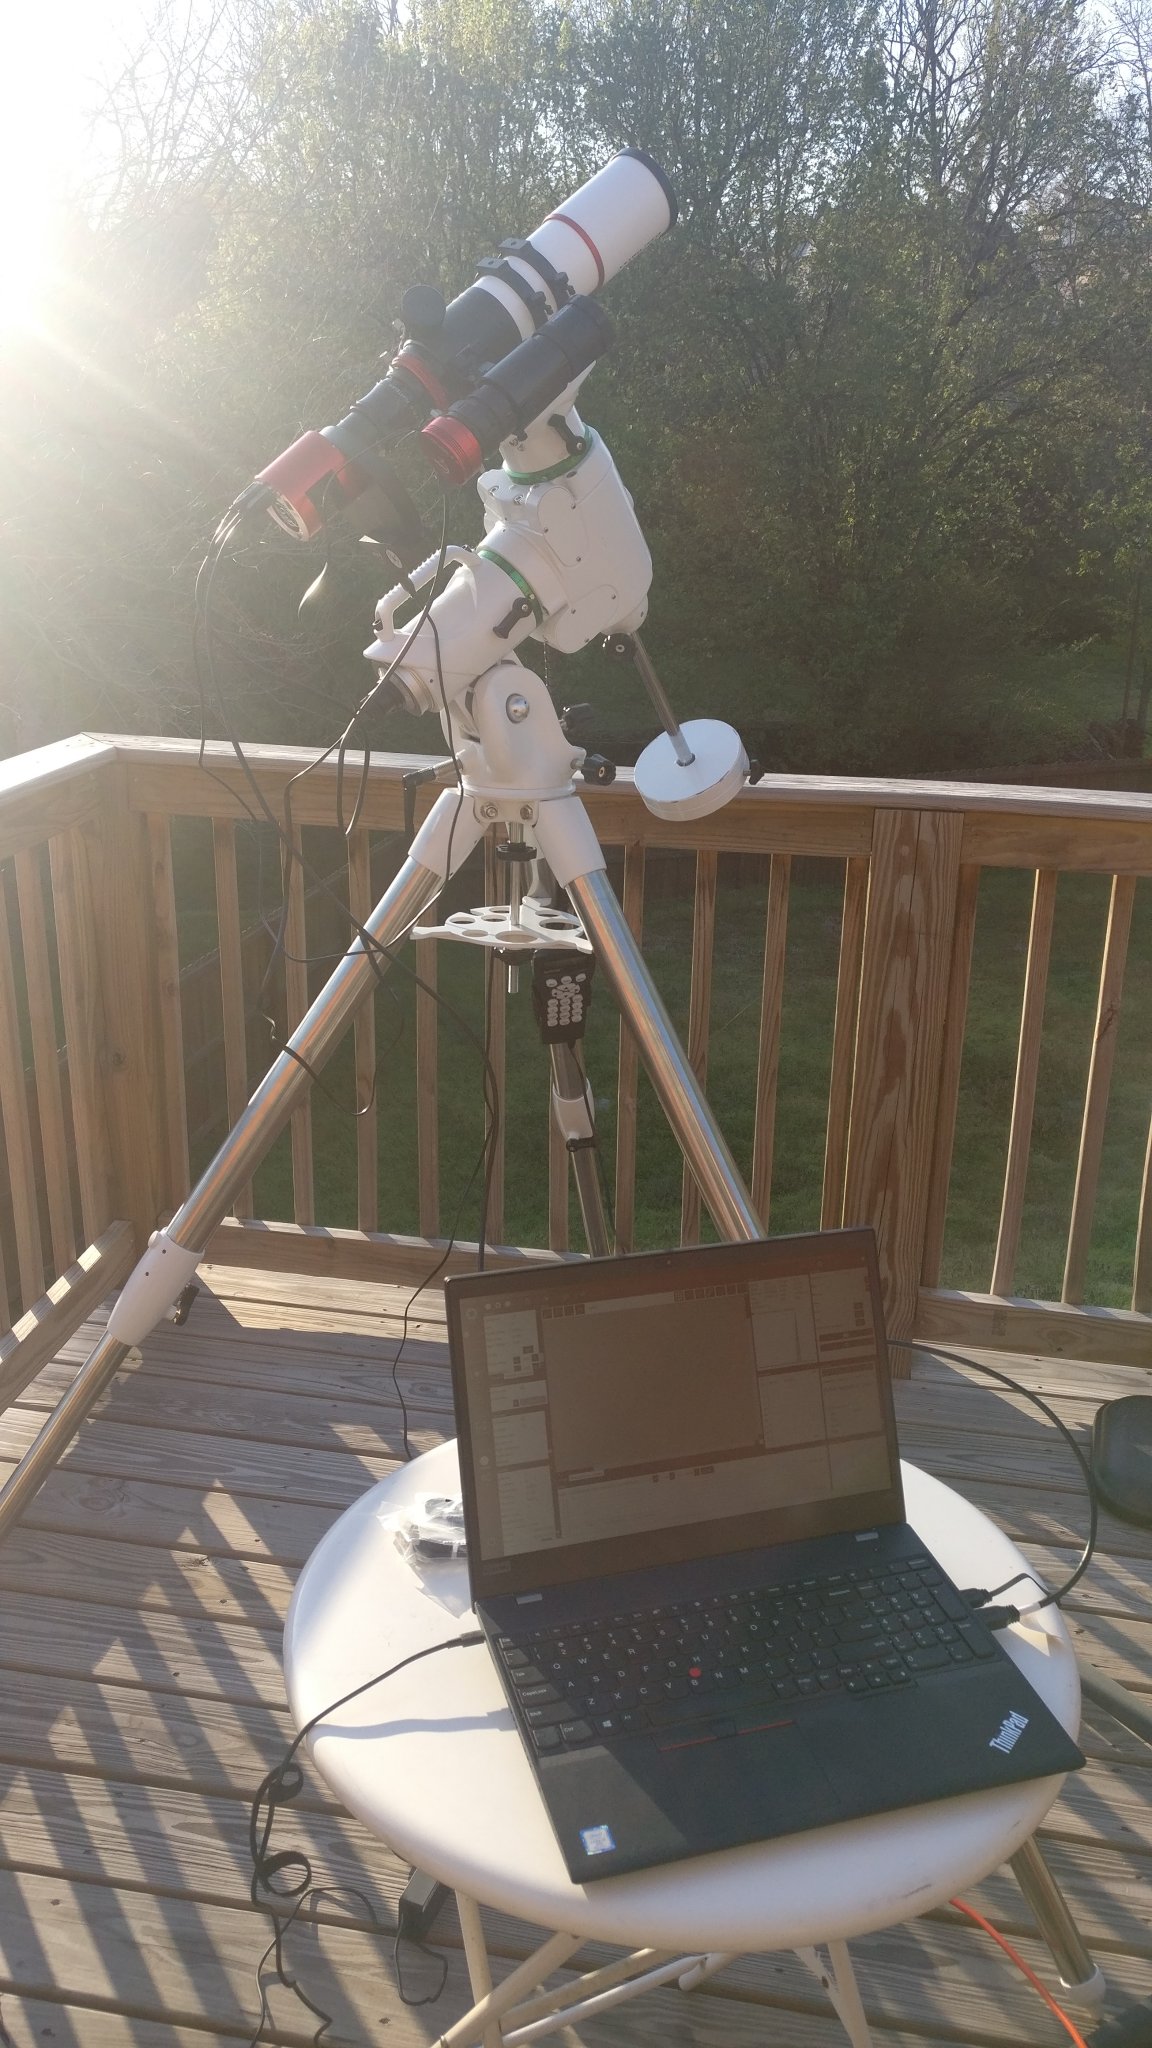
It all arrived last weekend and it was quite a chore getting it all assembled, but looked pretty sexy when it was all done:

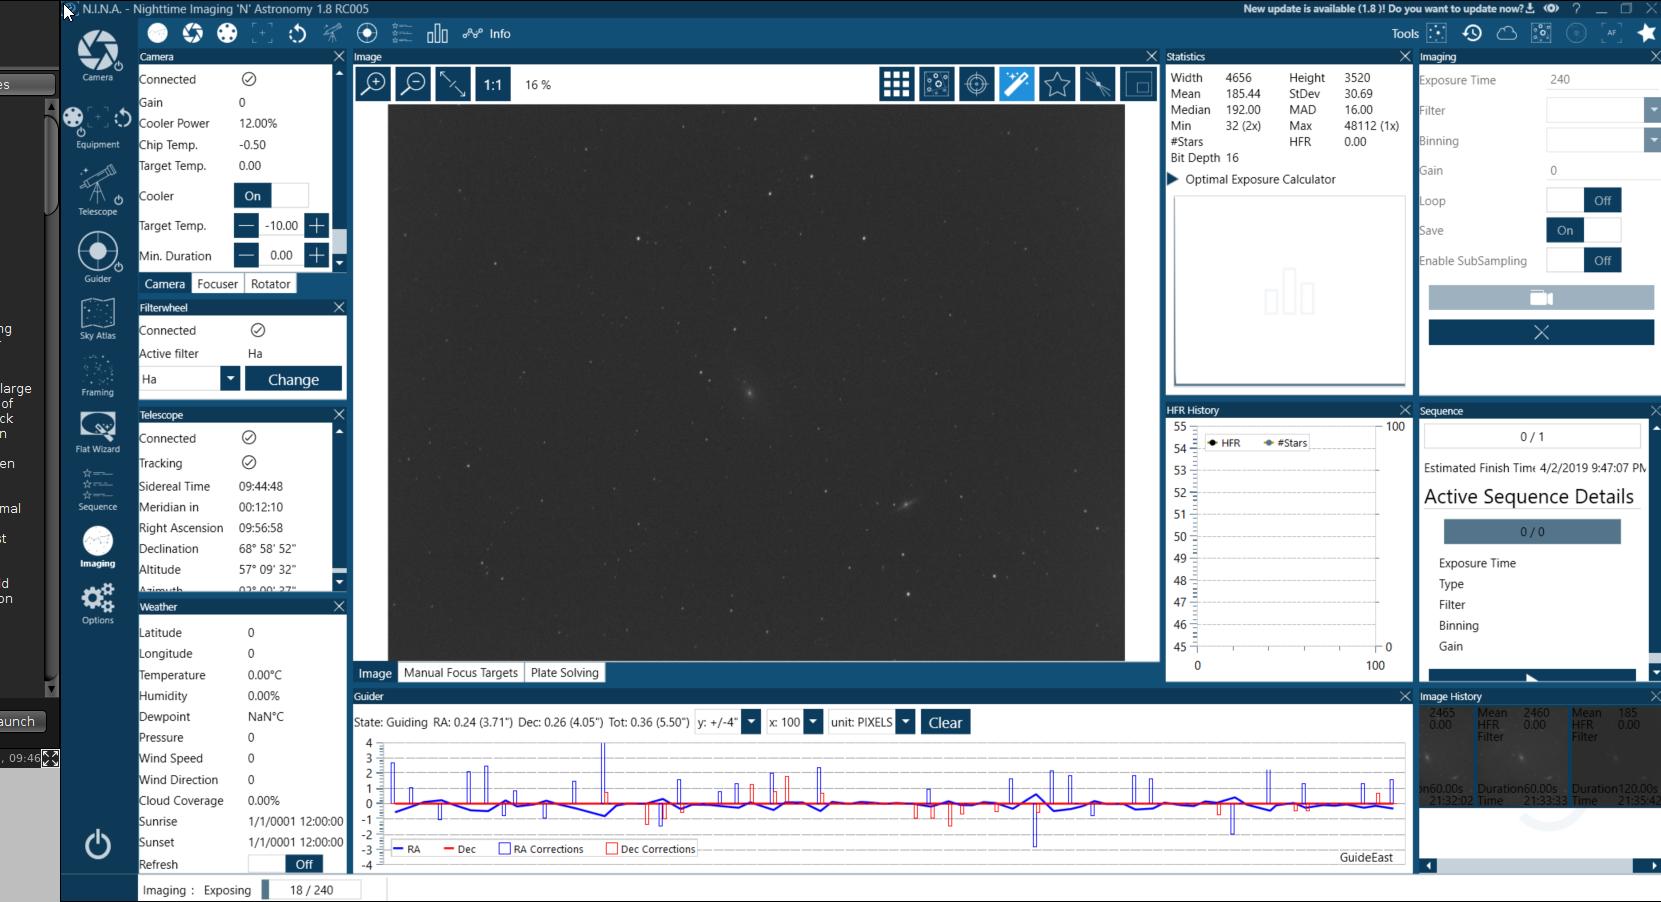
The next step, of course, was figuring out how it all works. As mentioned, despite the fact that I loathe using windows, due to the relative usability of software available, I nonetheless decided to go with this for now (more on this to come), using the ASCOM drivers for the ZWO equipment and my mount, along with PHD2 for guiding and NINA for controlling the whole rig. I won’t bore you with the specifics of how it’s all connected, but it involves a lot of cables.
Last night we had our first clear night in a while, so I put it all together and prepped for a test run:
I didn’t have much of a plan for photographing anything in particular (and increasingly I’m realizing this time of year is in fact not great for narrowband nebulas, being mostly galaxy season), but I figured it didn’t matter much, since even getting it working at all would be a win.
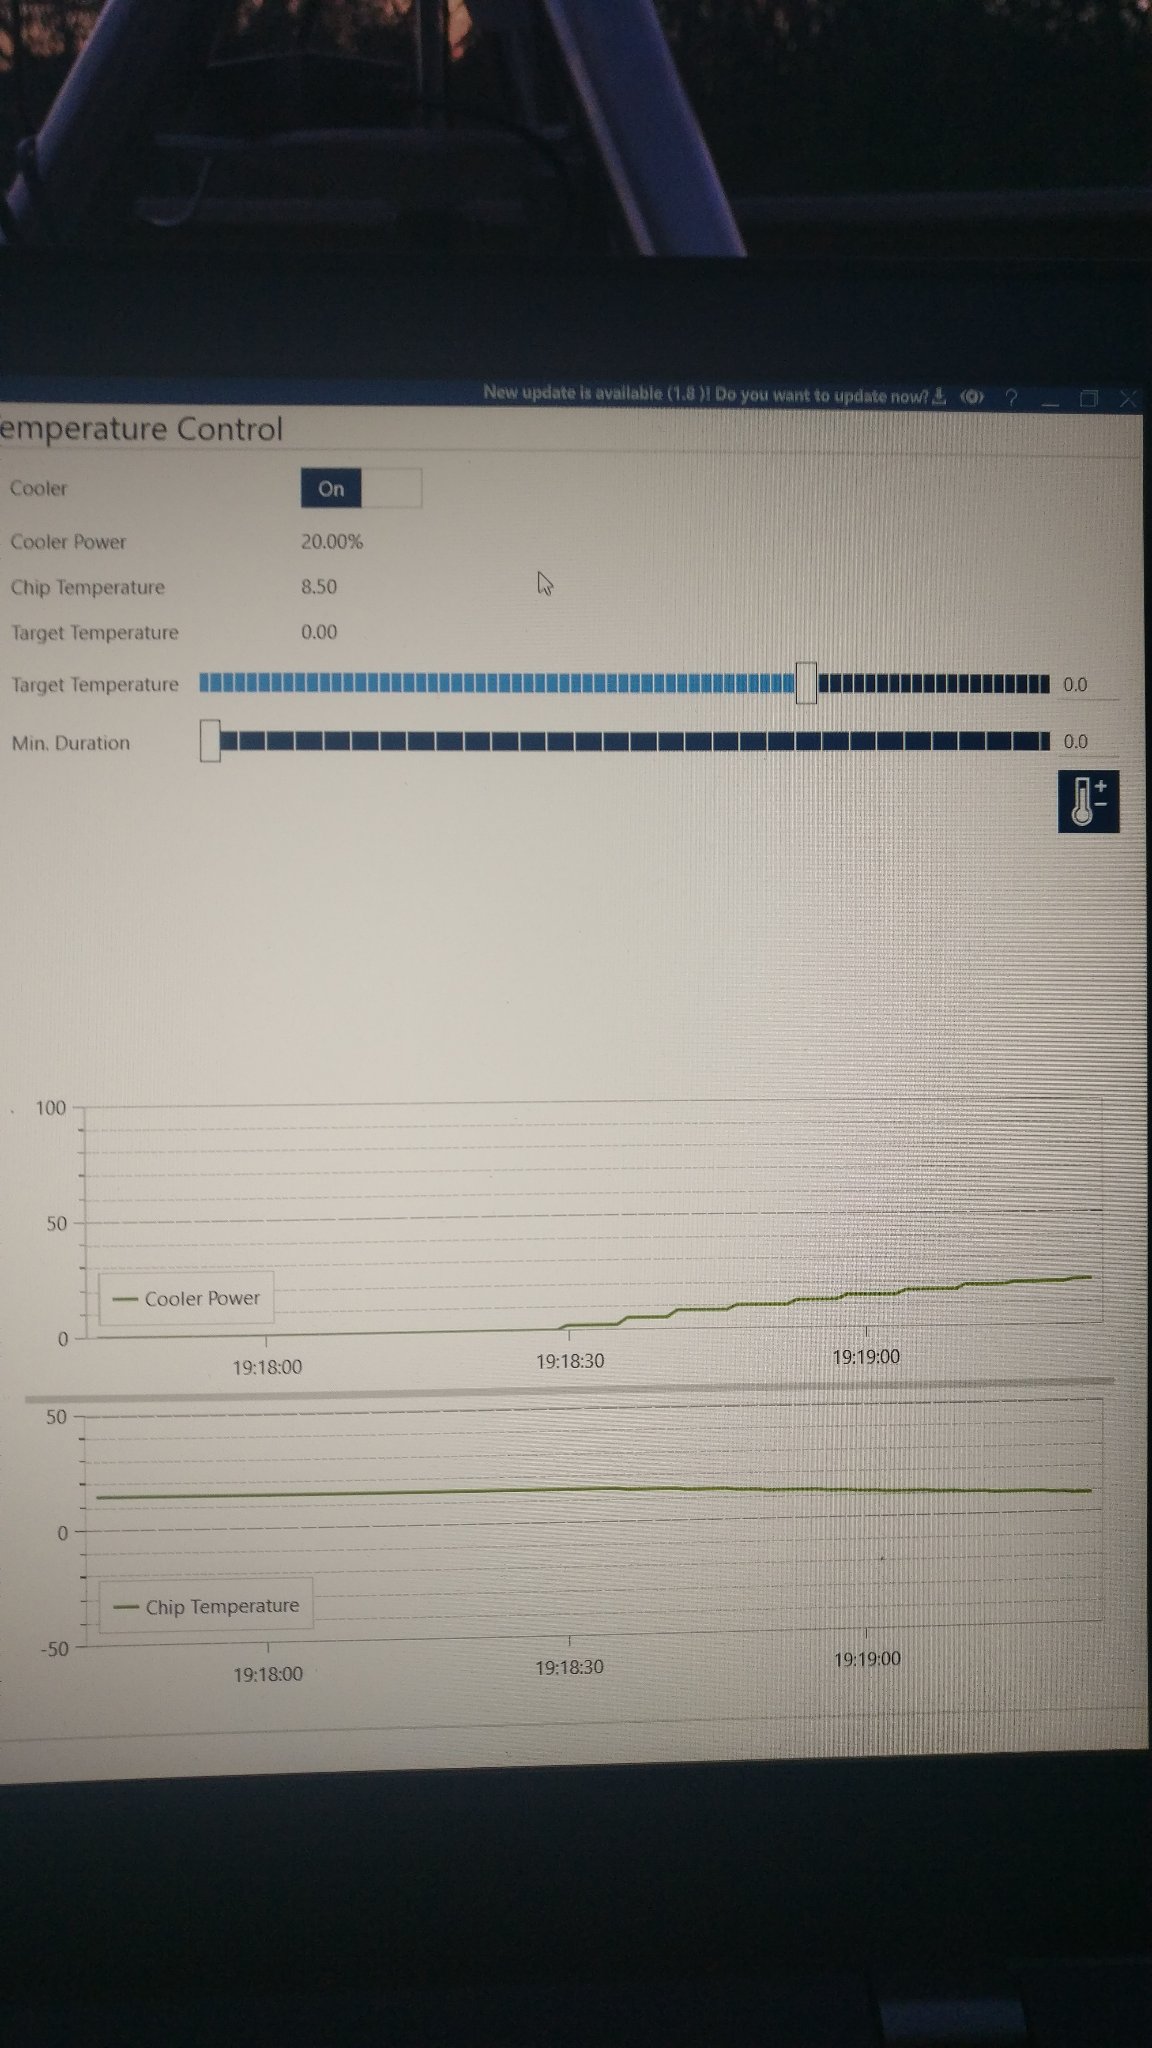
First step was getting the camera connected – because I already had the ASI drivers installed for my ASI120MC (which I had already used to test guiding as well as some limited success with NINA), it worked instantly! I even got it cooling right off the bat:
Next, I verified everything else worked – EFW was working fine and NINA was able to change the filters successfully. Then, I just had to wait for dark. First, a quick detour: another (unexpected) benefit of using a laptop to control your camera that I hadn’t anticipated is the use of platesolving to sync your telescope/mount. You may recall the immense frustration I had aligning my mount the first time around. I got a lot better at it, but it’s still somewhat a pain in the ass. To recap: with this method, you use the handset for the mount to slew the camera (close to, or sometimes far from) a particularly bright star, align it to be centered on the star, and repeat. This tells the mount where the mount is actually pointing, so you can then tell it to go look at other objects in the sky. Modern software (like NINA) instead can use a process called platesolving. This processes utilizes the massive accumulated data of star charts and databases to “solve” an image and figure out what part of the sky it’s looking at. So, with this process, you simply setup your telescope, polar align the mount, take a photo through the telescope and then platesolve it. The software then knows (roughly) where the scope is pointing, and you can then tell it to view a particular object/part of the sky, and it will platesolve, sync and repeat until the reported position in the sky matches what it’s supposed to be (within tolerances you can define). In other words, this means aligning my scope is now as simple as taking a picture and waiting for the software to do its thing. Pretty neat!
So, once it got dark, I platesolved, synced, and slewed to the biggest target I could think of this time of the year: M42 (The Orion Nebula). Alignment worked great, and with some trepidation, I set my filter wheel to the Ha filter to see what M42 looks like in hydrogen alpha:
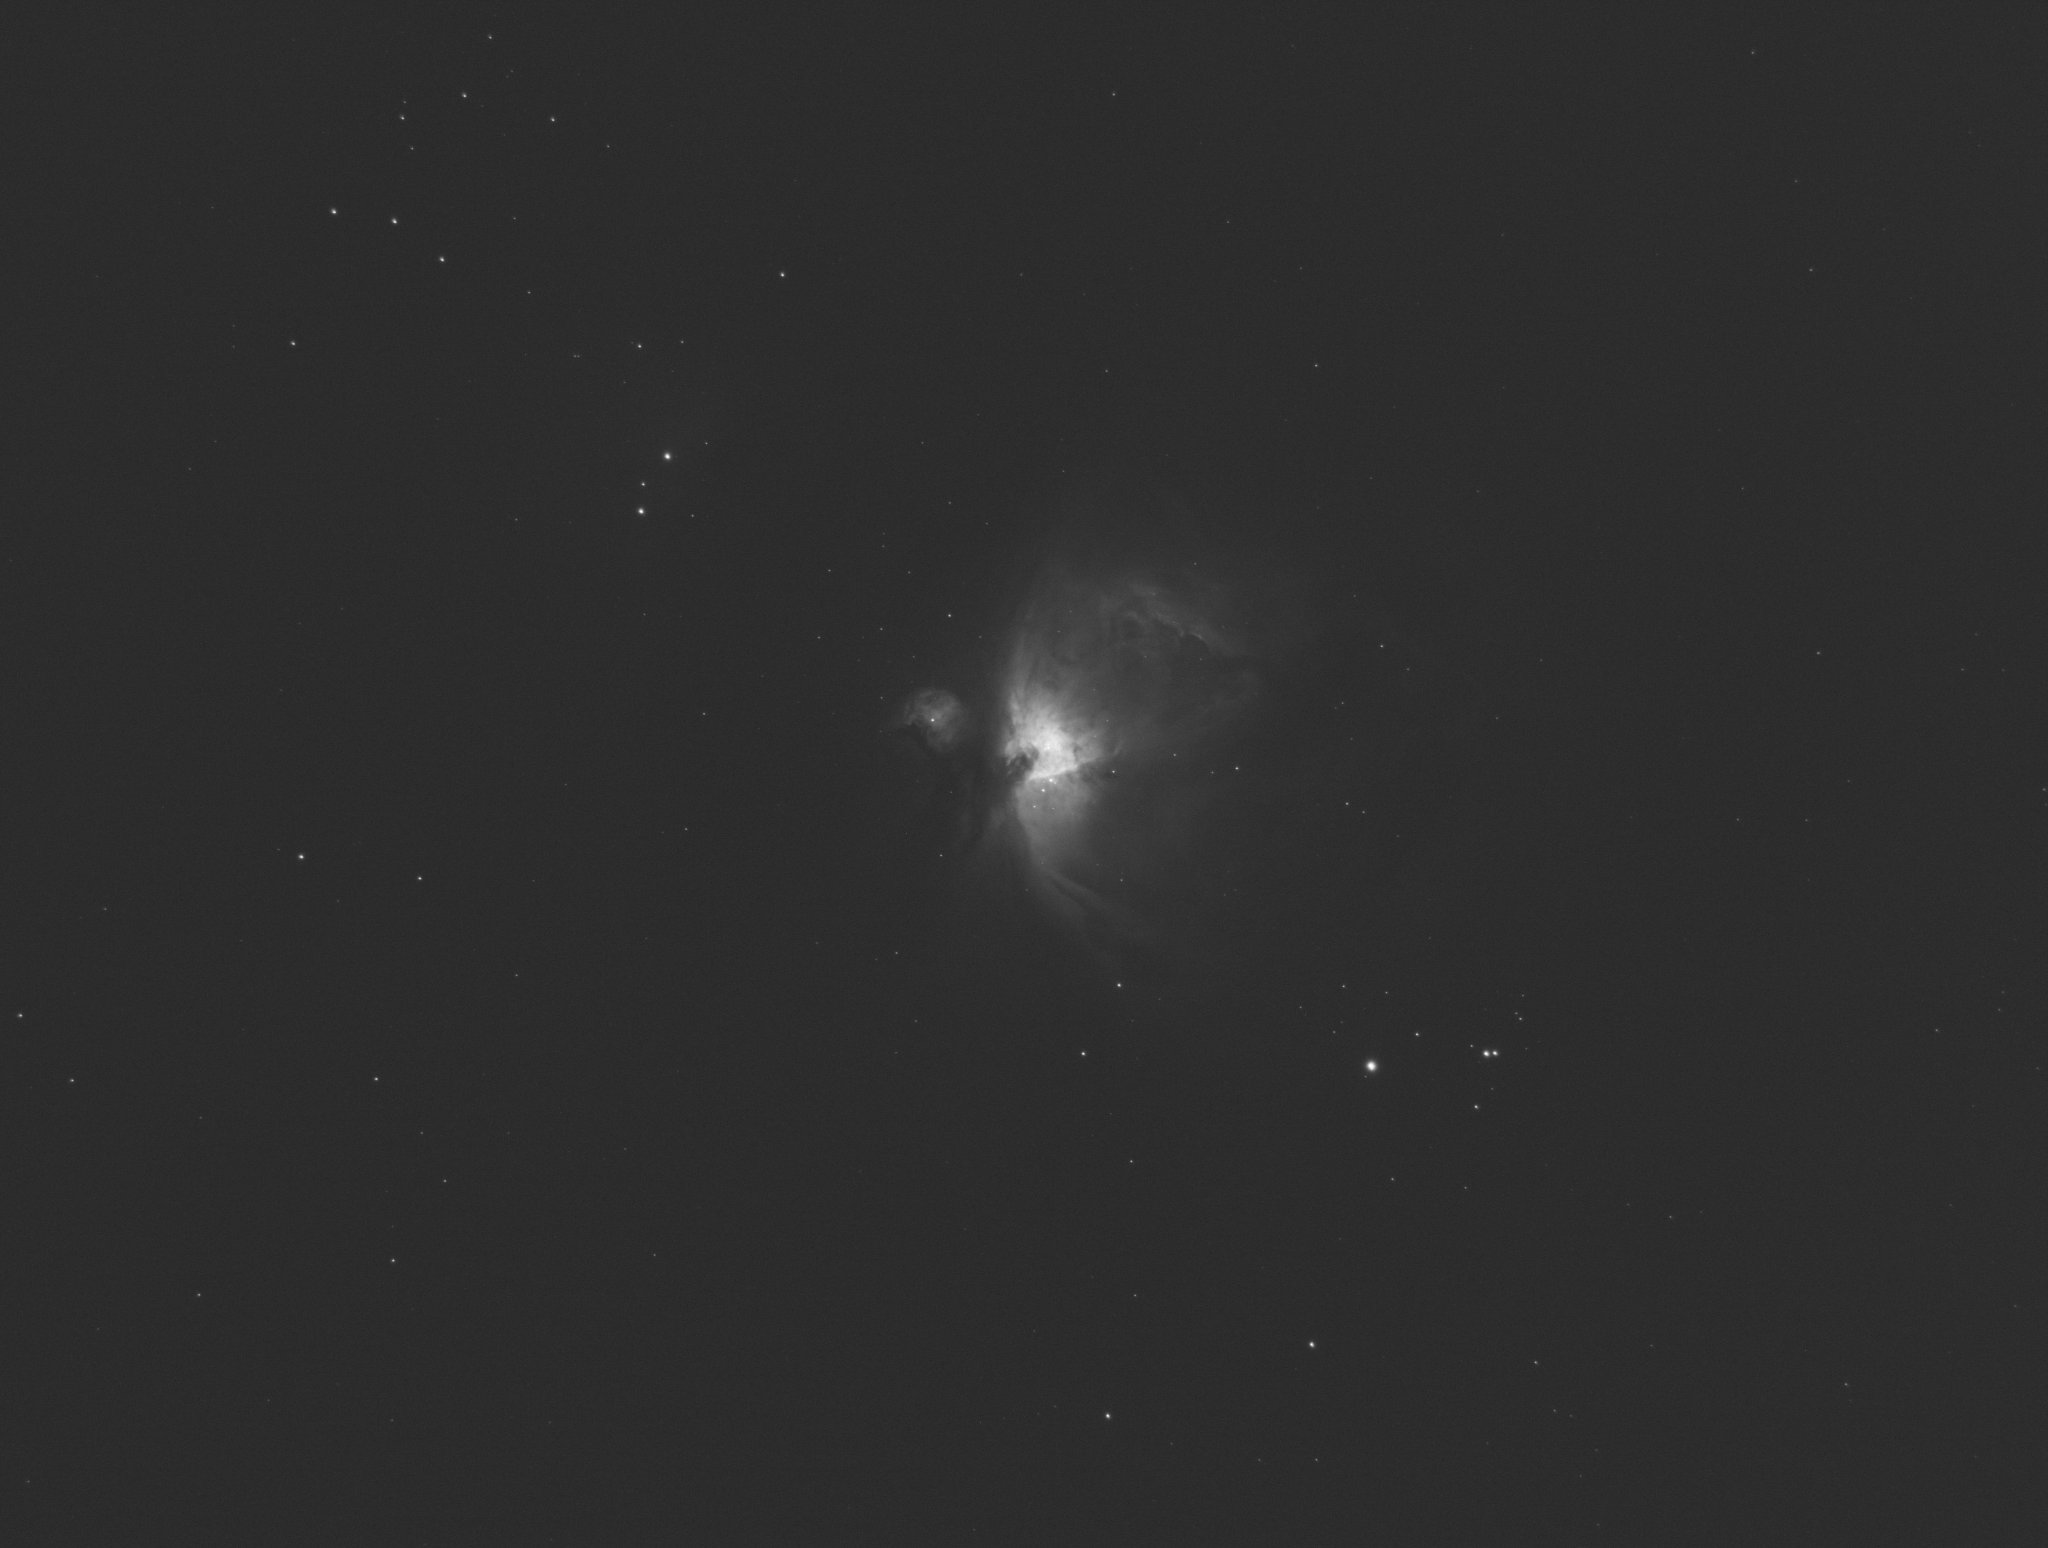
Amazing! I was pretty impressed with this result – only 40 seconds of hydrogen alpha light came out looking fairly crisp and incredibly noise-free (compared to my Sony, at least). Since I figured I’d want some data to play with, I went ahead and let it roll, taking 30 40” subs of M42 in hydrogen alpha. This evening I stacked them just to see how it looks:
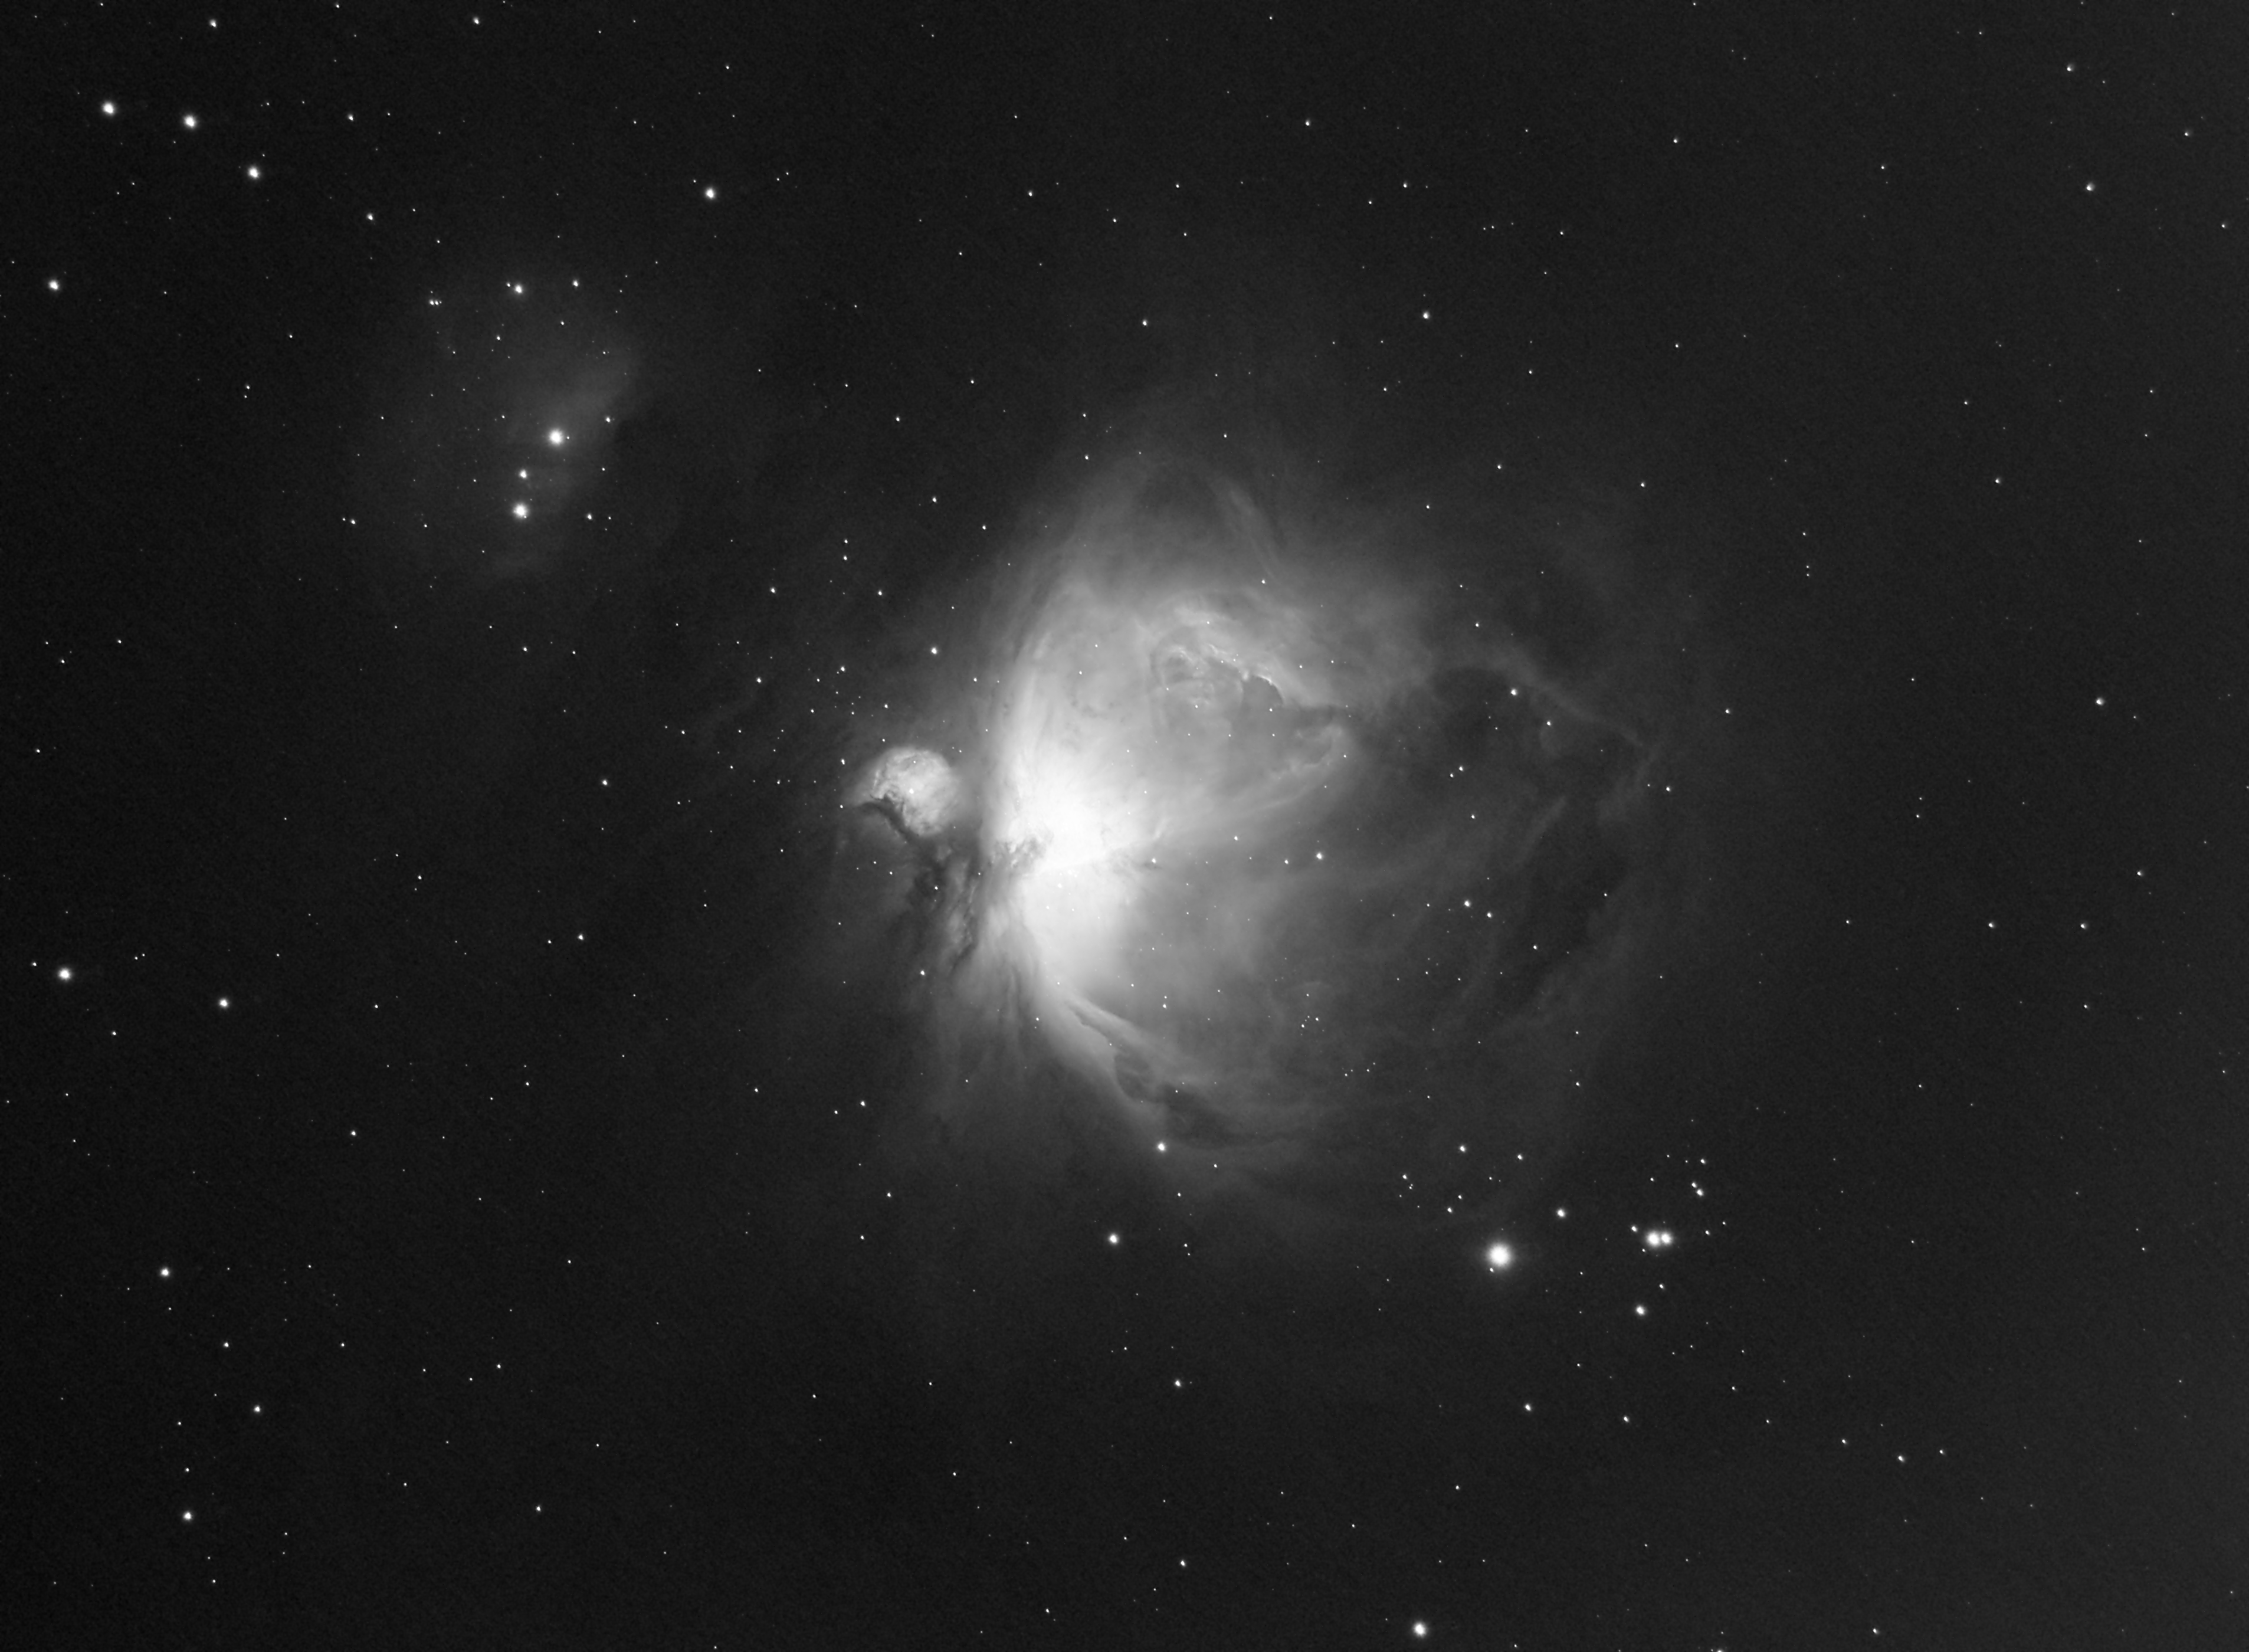
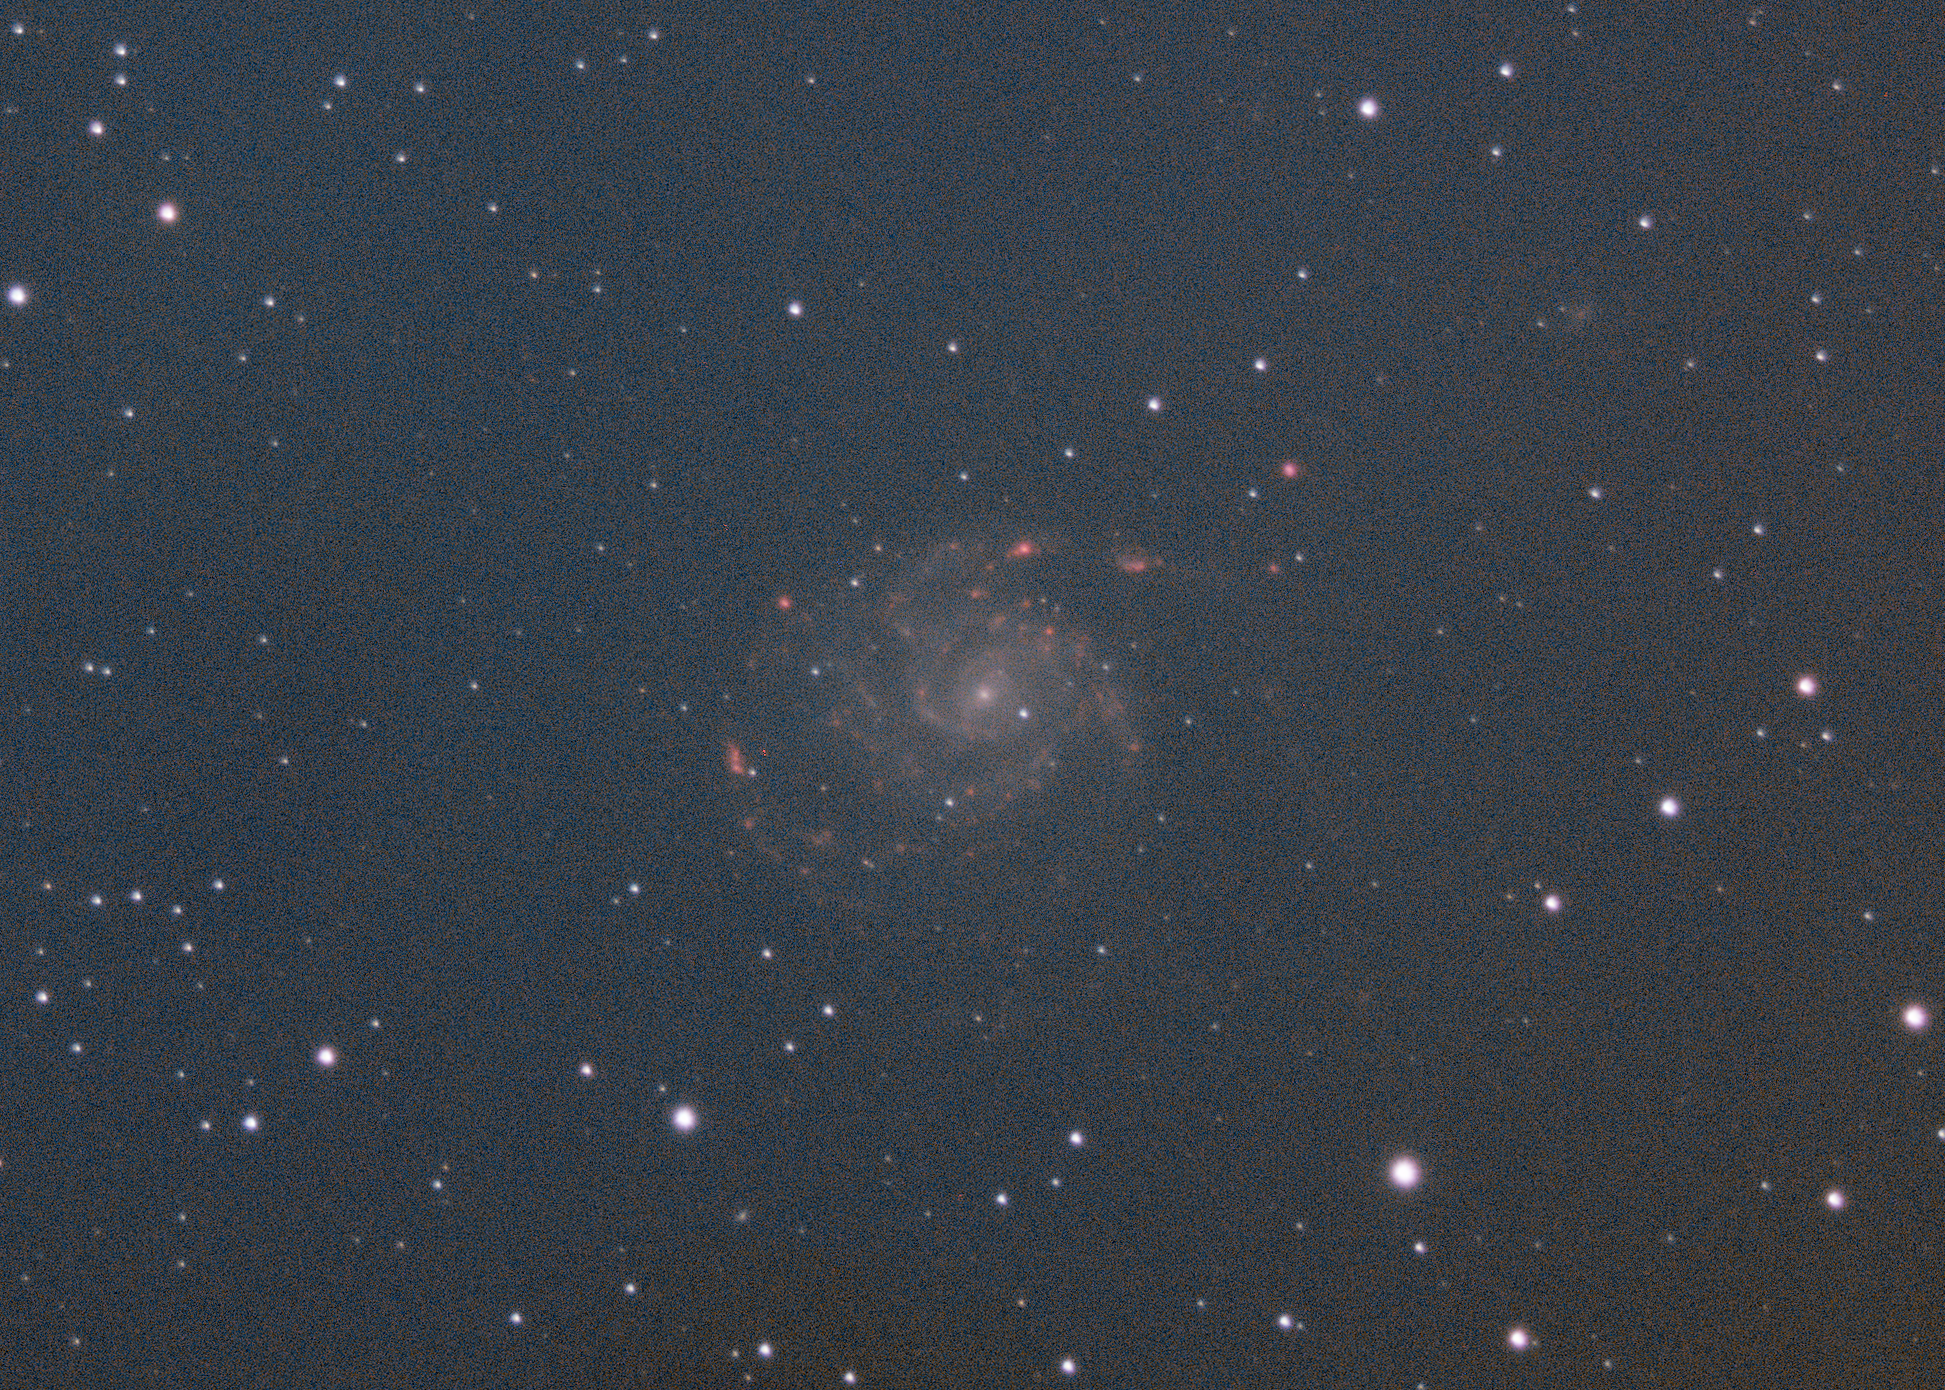
Pretty nice, despite not bothering to take any flats or darks. Remember of course this is monochrome because to get a full color picture, I’d have to gake the other LRGB sets of photos – I didn’t bother doing this tonight, because I still wanted to test other things out. It was around this time that it occurred to me that I could install VNC on my laptop and be doing (most of) this from the comfort of my warm house. Despite taking somewhat away from the whole ‘be outdoors experiencing the majesty of nature and the skies’ aspect, I have to say this was pretty cool. This was the setup I looked at (remotely) from my PC imaging Bode’s and the Cigar galaxy:
Next, I pointed the camera at the Rosette Nebula, because this is a particularly good narrowband target – I should have done this earlier though, as it sets fairly early this time of year. Still, even the one exposure I got looks pretty cool!
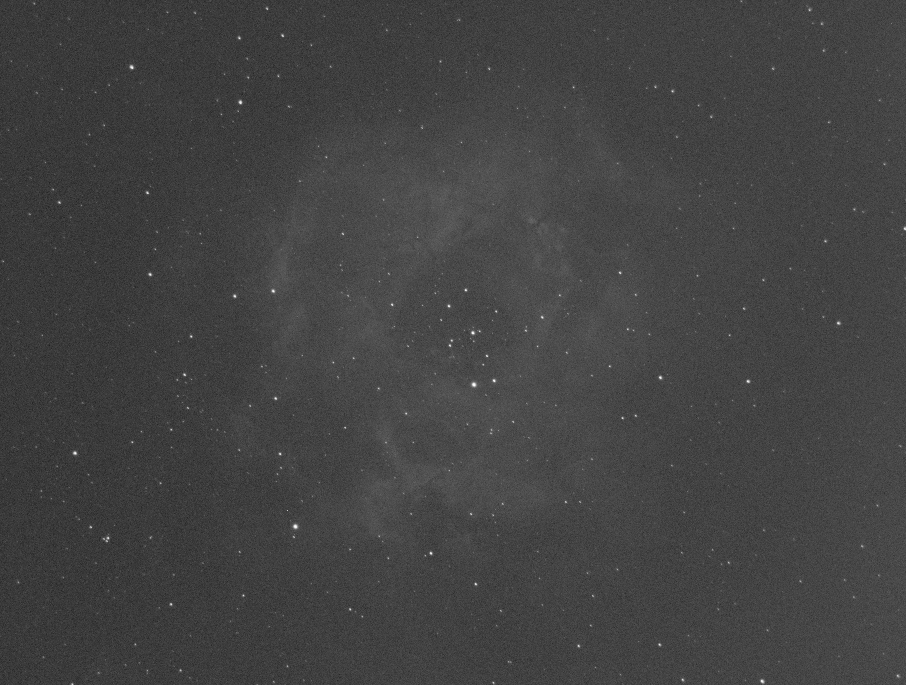
It’s amazing how large this nebula is – for reference, the moon in this same field of view would be roughly the size of the dark part in the middle of the nebula. Big!
This is where things take a slight detour into the comical, so some blooper reel territory shit resulting from the many things I still need to learn. First, the camera suddenly stopped cooling. Perplexed, I thought something was broken until I realized the rather obvious problem: I was out of juice. The battery I use (although plugged in), was draining faster than it could charge. I swapped the camera and laptop to AC power and proceeded.
Next, I figured I’d let things run on the rosette nebula for a while, but the very next photo I got was .. not right:
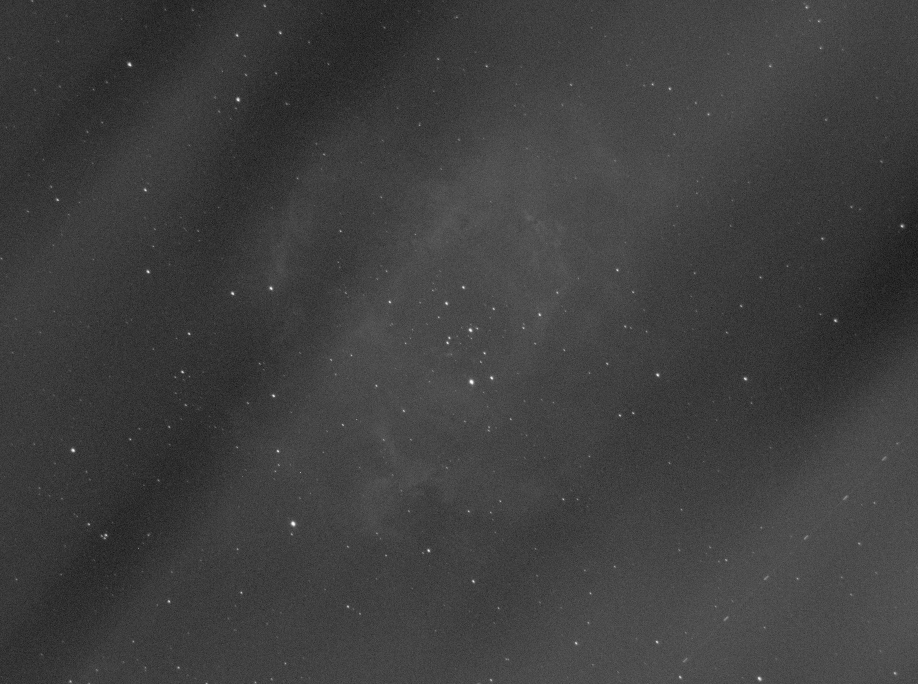
What the hell happened? I triple-checked the forecast and it was supposed to be crisp and clear. I went outside and couldn’t see a cloud in the sky. Did my neighbors fire up a bonfire? Did the northern lights make an astonishingly southern appearance? No, as with most of these things: I was just an idiot. If you were paying attention earlier, I mentioned that the Rosette nebula sets early this time of year. Yeah. These were trees on the horizon already creeping in to the field of view, appearing as streaks over the course of 6’ exposures. So much for that target!
Determined to get some more data to play around with, I tried to salvage the night by pointing at M101, which was just rising. This was going well, and I got a set of Ha subs, a set of luminosity subs, and had just started with the red subs when I noticed this:
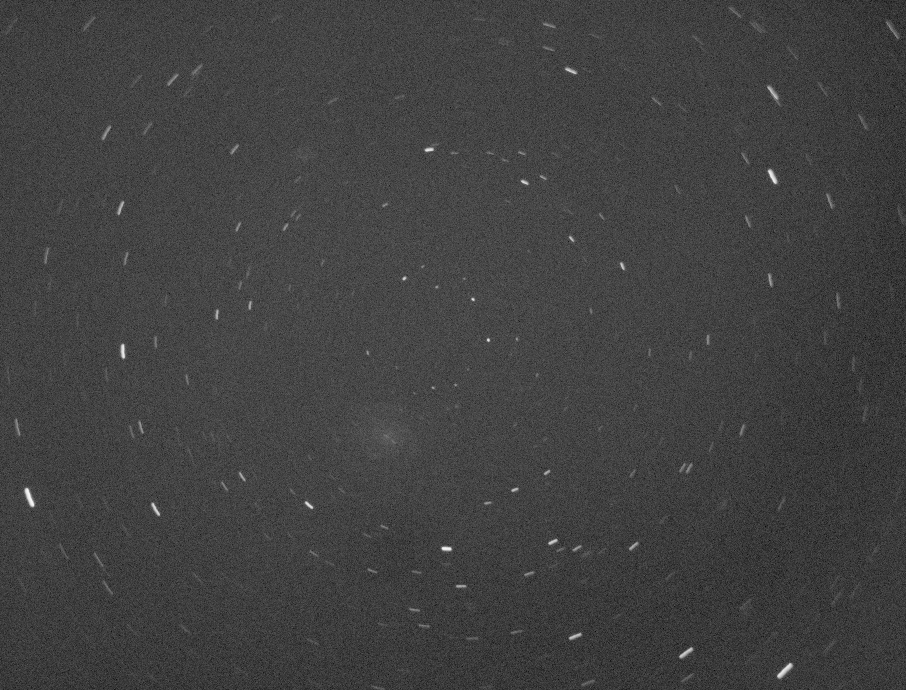
Fearing the worst, I went out there expecting to troubleshoot catastrophic mount failure or something. Fortunately, the problem was a little simpler: the filter wheel had started hitting the mount itself and was slowly turning the camera in the field of view as it tracked. So, apparently leaving your gear to run automated while you sit around inside watching star wars is not without its risks.
It was pretty late at this point, so I decided to call it a night. I gave stacking and integrating the photos of M101, but the result looks like crap, mostly because M101 is fairly small in my telescope, I took no darks/flats/biases, and couldn’t even finish taking red green and blue. I combined the Ha, luminosity and small amount of red channels into something with completely fake colors just for shits and giggles:
These colors are all wrong, but then again what colors in astrophotography are ‘real’? It’s interesting that you can see the portions of the Ha data in red – these are typically (as I understand it) areas of active star formation that are high in narrowband emissions.
All in all, despite the numerous disasters, all the gear worked flawlessly, and I’m pretty excited to give this a whirl and get a full set of data. I was worried about the pain of using a laptop (and getting all this gear out into the field is still a whole other thing I have to figure out), but I have to admit: sitting at a computer and slewing the telescope flawlessly to look at things from the comfort of my office is pretty damn cool.
But what did I learn? I now (as always) have a TODO list a mile long:
- improve my polar alignment – guiding was working, but having a really hard time. Sharpcap is yet another software tool that I think will help with this.
- figure out how to position my EFW and set the tolerances in software so it doesn’t bang into the mount while tracking.
- obtain a full set of data and figure out how to combine LRGB/Ha/SII/OIII data properly
- fix the spacing in my optical train – I’m still getting coma in the corners, which means that my sensor is too close to the field flattener
- try not to take photos of things that are behind trees
Until next time!