mount testing
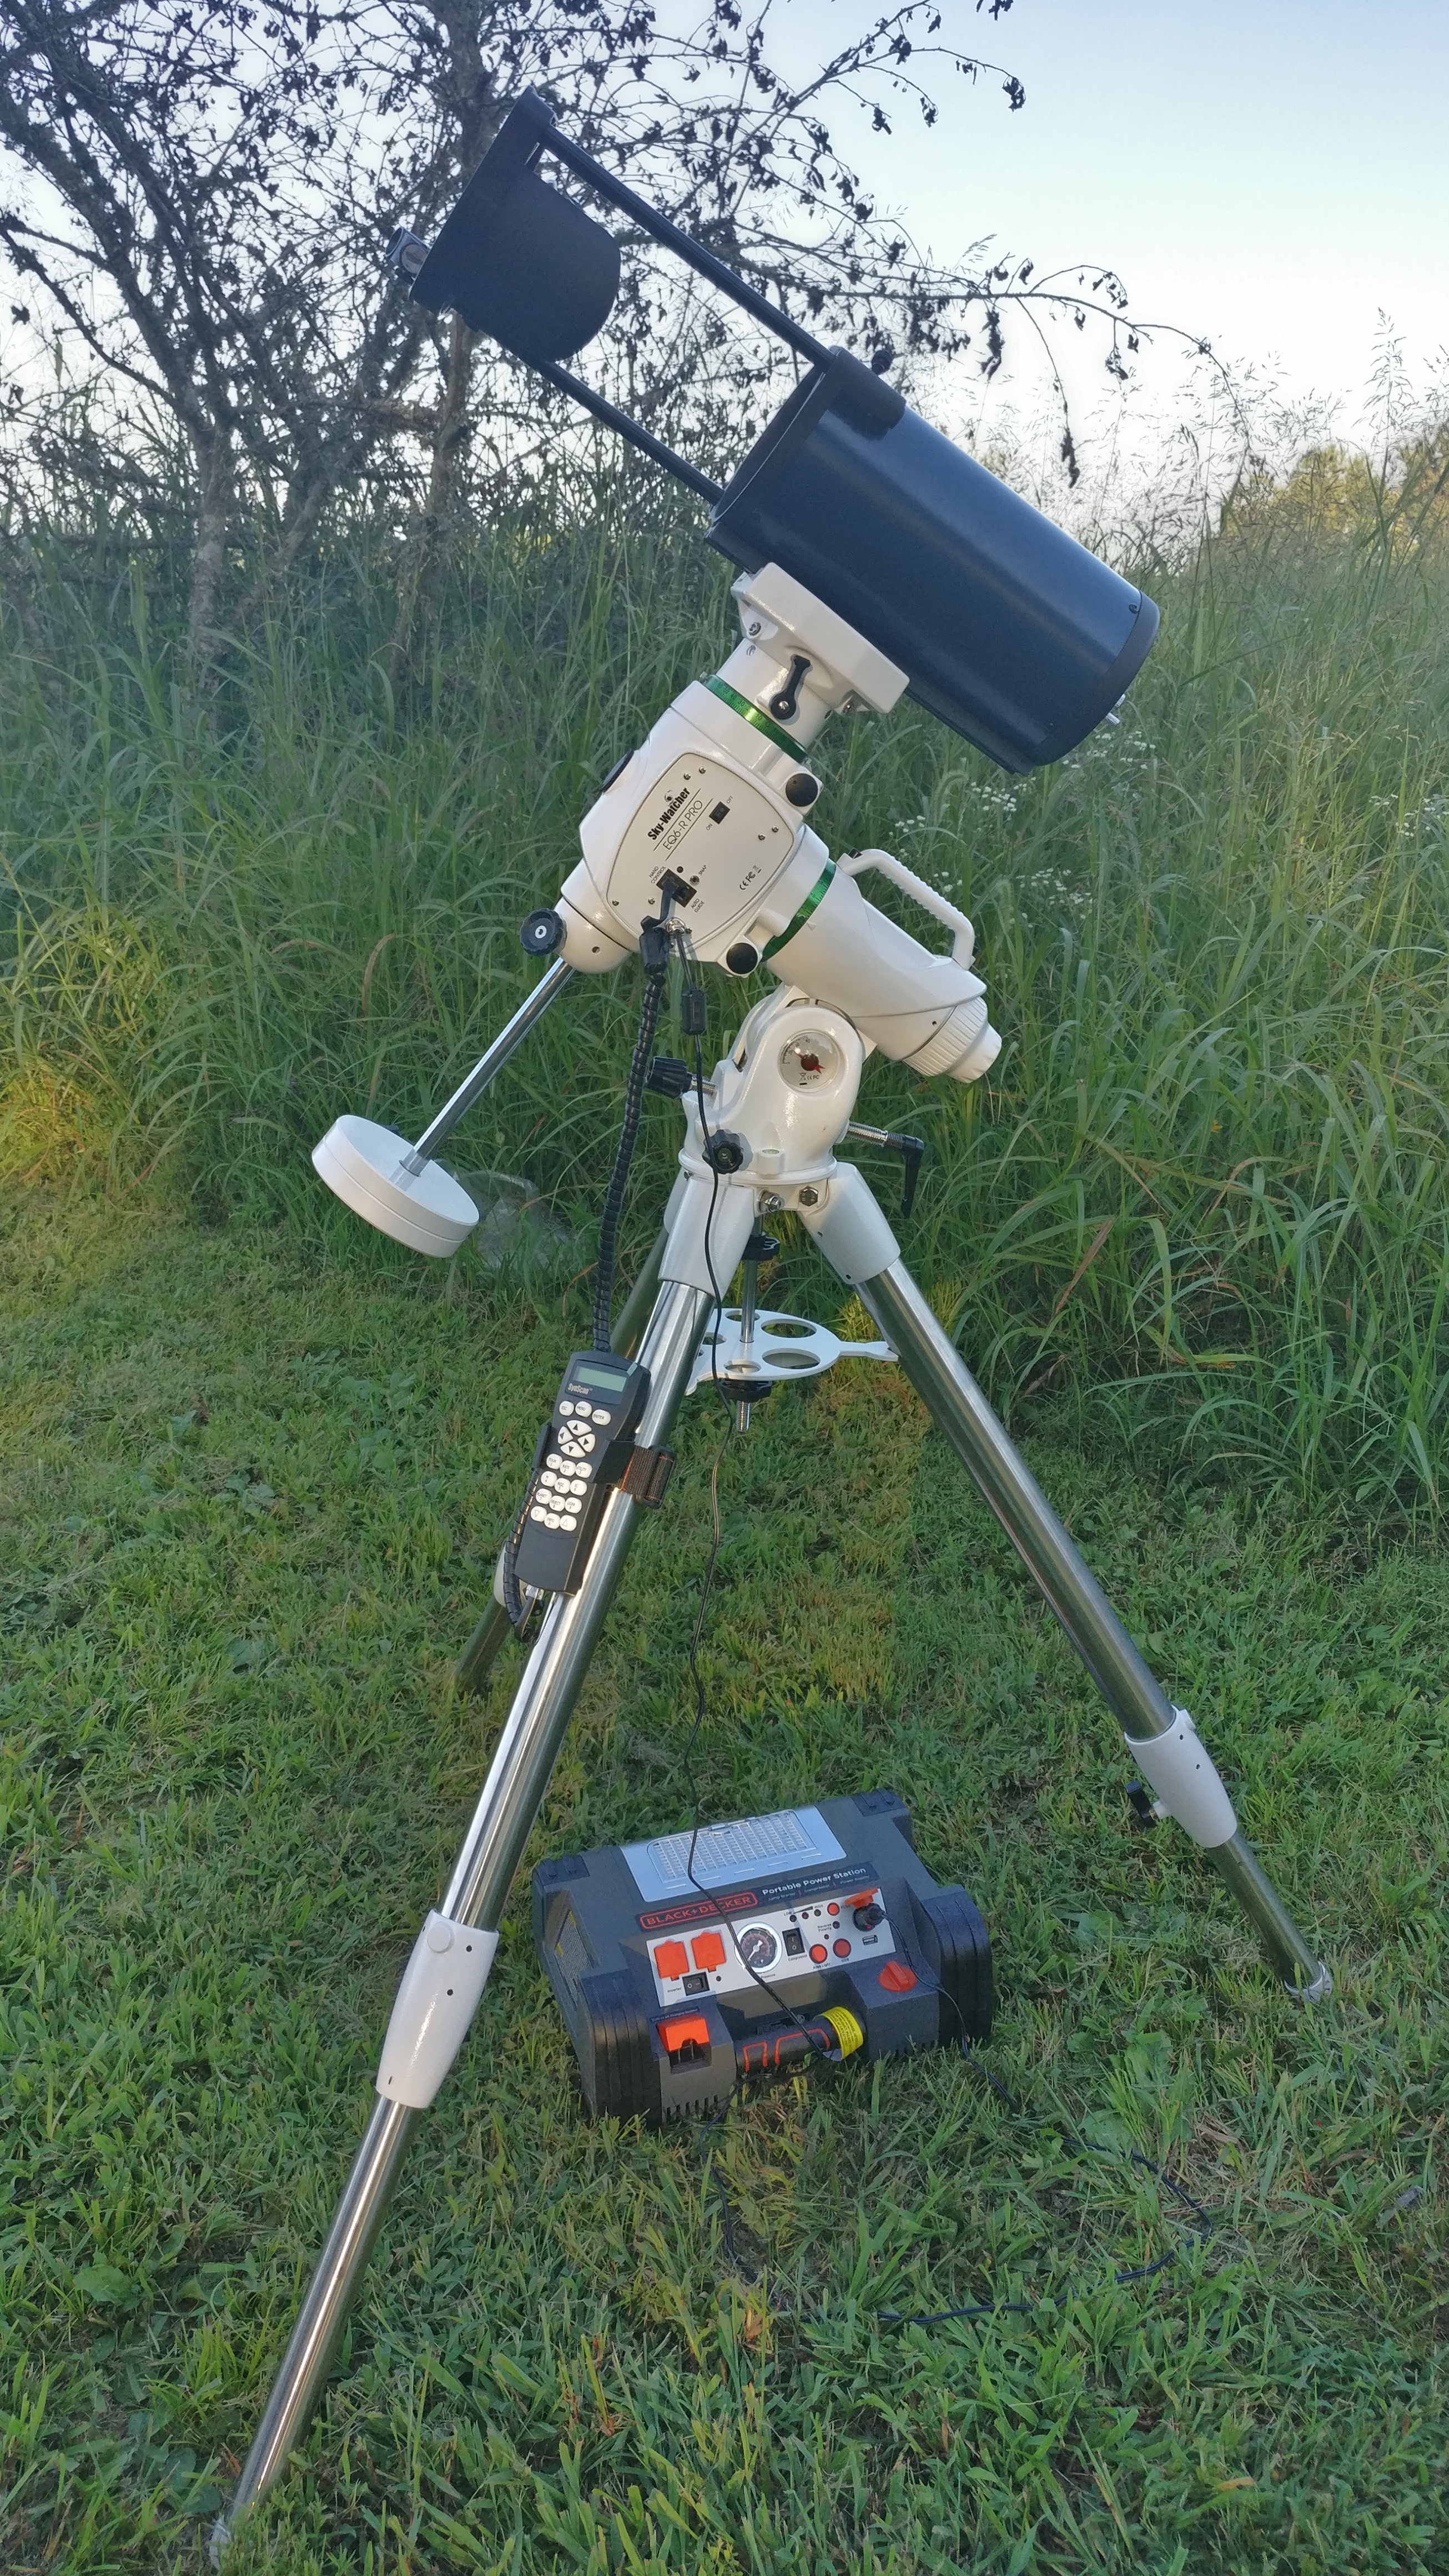
02 Sep 2018This Labor Day weekend my parents hosted a family get-together for some birthdays. I decided to take the opportunity to haul the new mount and telescope out to their place, since they live in Castillian Springs, TN – which, while not perfectly dark still has far less light pollution. I setup the mount early in the evening before dinner while we waited for it to get dark:
(Warning: boring ranting about mount polar alignment and goto tracking to follow – skip ahead to avoid.)
So. Getting this mount aligned was a bit of an ordeal. I spent about 3 hours trying it over, and over and over. Sweat pouring down my face, making treks back/forth to the house to watch tutorial after tutorial on youtube. I could find no fault with the polar alignment, but when I attempted the initial alignment (with 1, 2, or 3 stars), it simply didn’t seem to be working: I’d pick Vega as the first star, and it would slew to a point way off-target from where Vega was. At one point I even thought I had accidentally aligned it with a star other than Polaris and went out into the dark to do some old-fashioned star chart/constellation navigation to make sure I actually had it pointed it at Polaris, which I did. In the end, when I was about to give up, I decided to just power through the 3-star alignment and manually slew the telescope to where the star should be. Et voila, it worked fine after that. What I realize now is that I think I was expecting a bit too much of the hand controller’s initial alignment star acquisition. I thought something was wrong because it wasn’t anywhere near Vega, when in reality that’s just how it goes (and why many people opt to use a computer and eqmod over the hand controller).
I’ve also learned the extent to which polar alignment is separate/different from star alignment. If the mount is aligned at the North Celestial Pole via polaris, the equatorial tracking will work, period, regardless of anything else. Aligning the go-to functionality by initial stars is, conversely, entirely relative based on your location, elevation, and time, so it makes perfect sense that the first-pass before alignment is not going to be great.
Anyway, tl;dr: I got it working.
It was about midnight by the time I finally got goto working, so I didn’t have a ton of time. I pointed it at Andromeda first and took some lights, darks and improvised flats (paper towel and LED headlamp) with my telescope, some wide-angle 10mm shots of the milkyway with my camera, and some 200mm shots near IC59 (basically just stars). I didn’t bring a computer with me, so all processing of the data would have to wait for the next day.
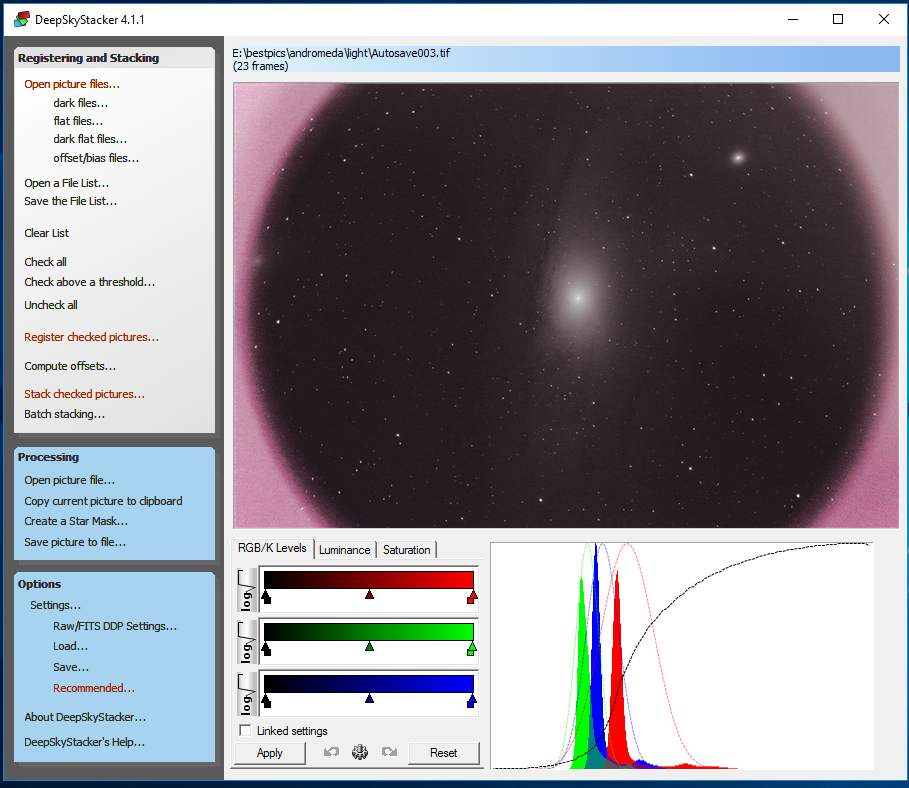
This was my first time trying stacking with data actually much more sensitive to flat/dark calibration and noise, and it was a good test to isolate some weaknesses in my gear for this stuff. To start with, I dumped the shots of andromeda into DeepSkyStacker (vs Pixinsight, because I am still learning it and wanted a quick test), and could see that for some reason adding the dark frames basically ruined the photo:
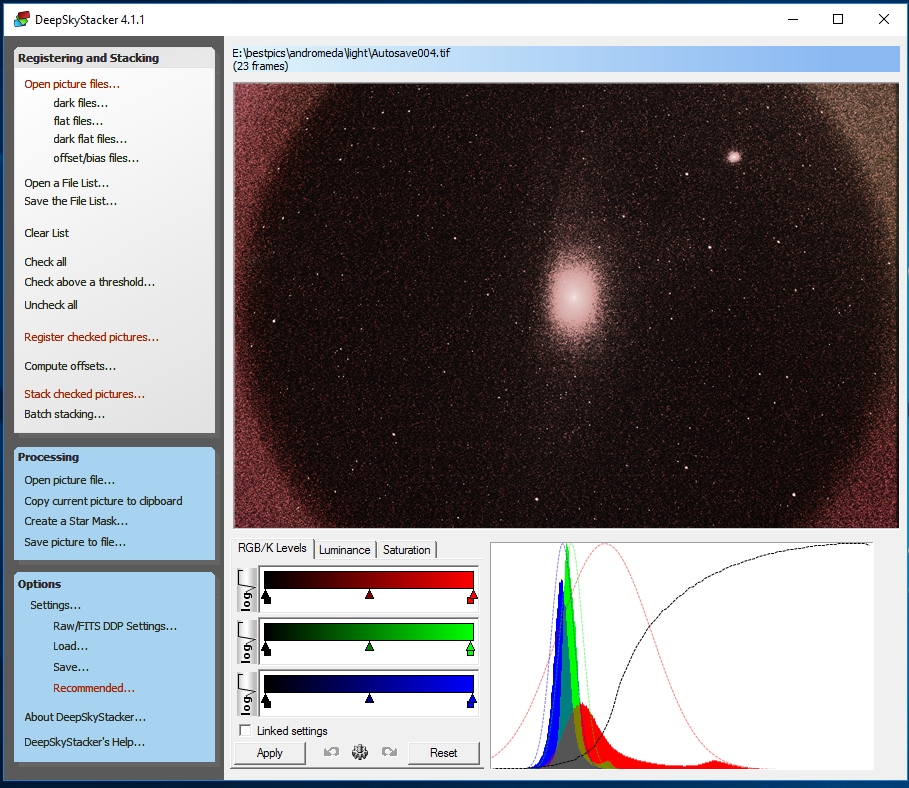
I’m still not entirely sure what went wrong, but after some deliberation with people in the /r/astrophotography discord, it seems likely that the issue is with the data and conversion from my Sony’s raw format to TIF. Sony’s raw format is not supported by either Pixinsight or DeepSkyStacker, so for this processing I had been converting to uncompressed (in theory) 32-bit TIF from Darktable and using that as source data in pixinsight and Deepskystacker. There’s no way of knowing what darktable is actually doing – someone in the discord channel said the supposedly uncompressed TIF seemed to still have bad compression artifacts. I was able to salvage the data into semi-presentable photos by just not using the dark frames. The conclusion I’ve reached is that for future attempts, I am going to use the Sony compressed RAW format, which pixinsight does actually support, and should hopefully yield much better results.
The good news is the mount performed admirably. From the shots I took (most at 30”), there didn’t appear to be much trailing. I suspect anything much beyond 30” would have started trailing a bit (based on some subtle drift I could see from frame to frame), but once I tackle the mount’s periodic error correction, I expect it to do quite well.
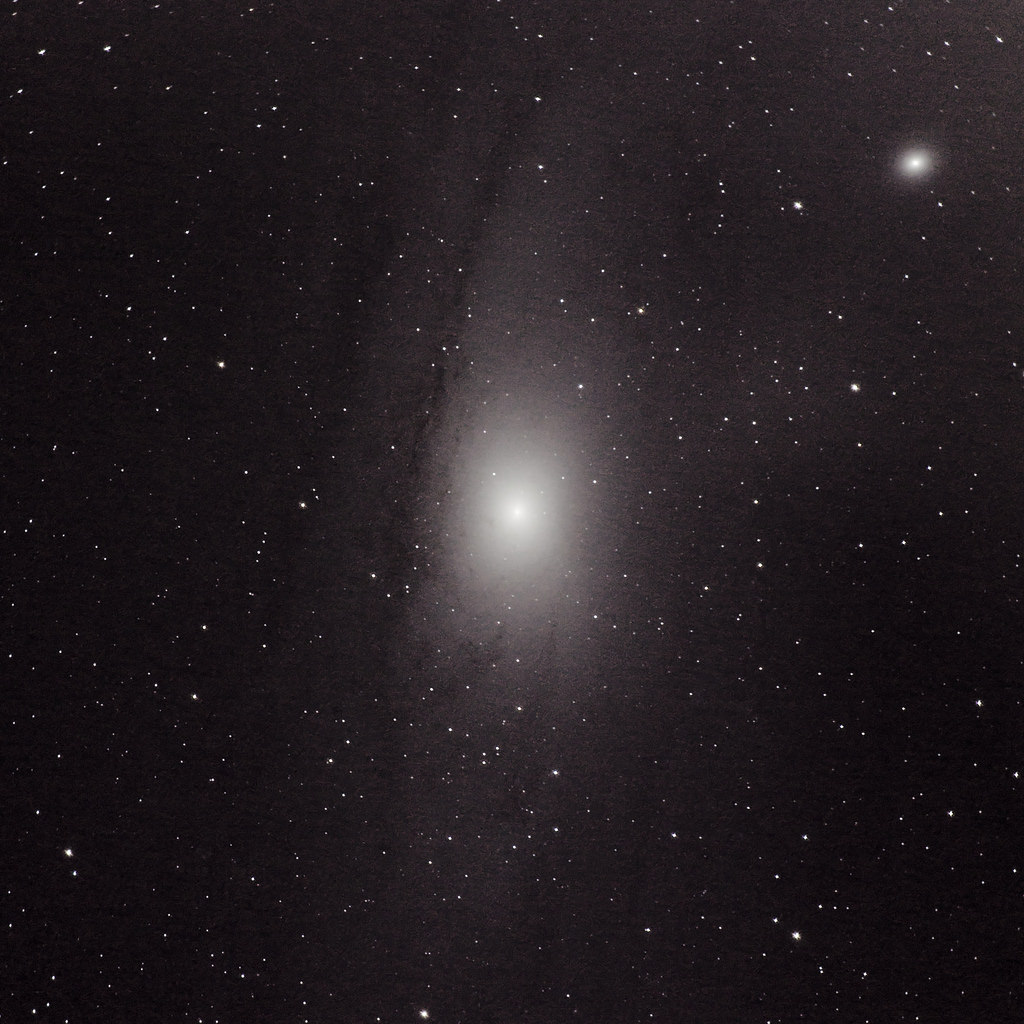
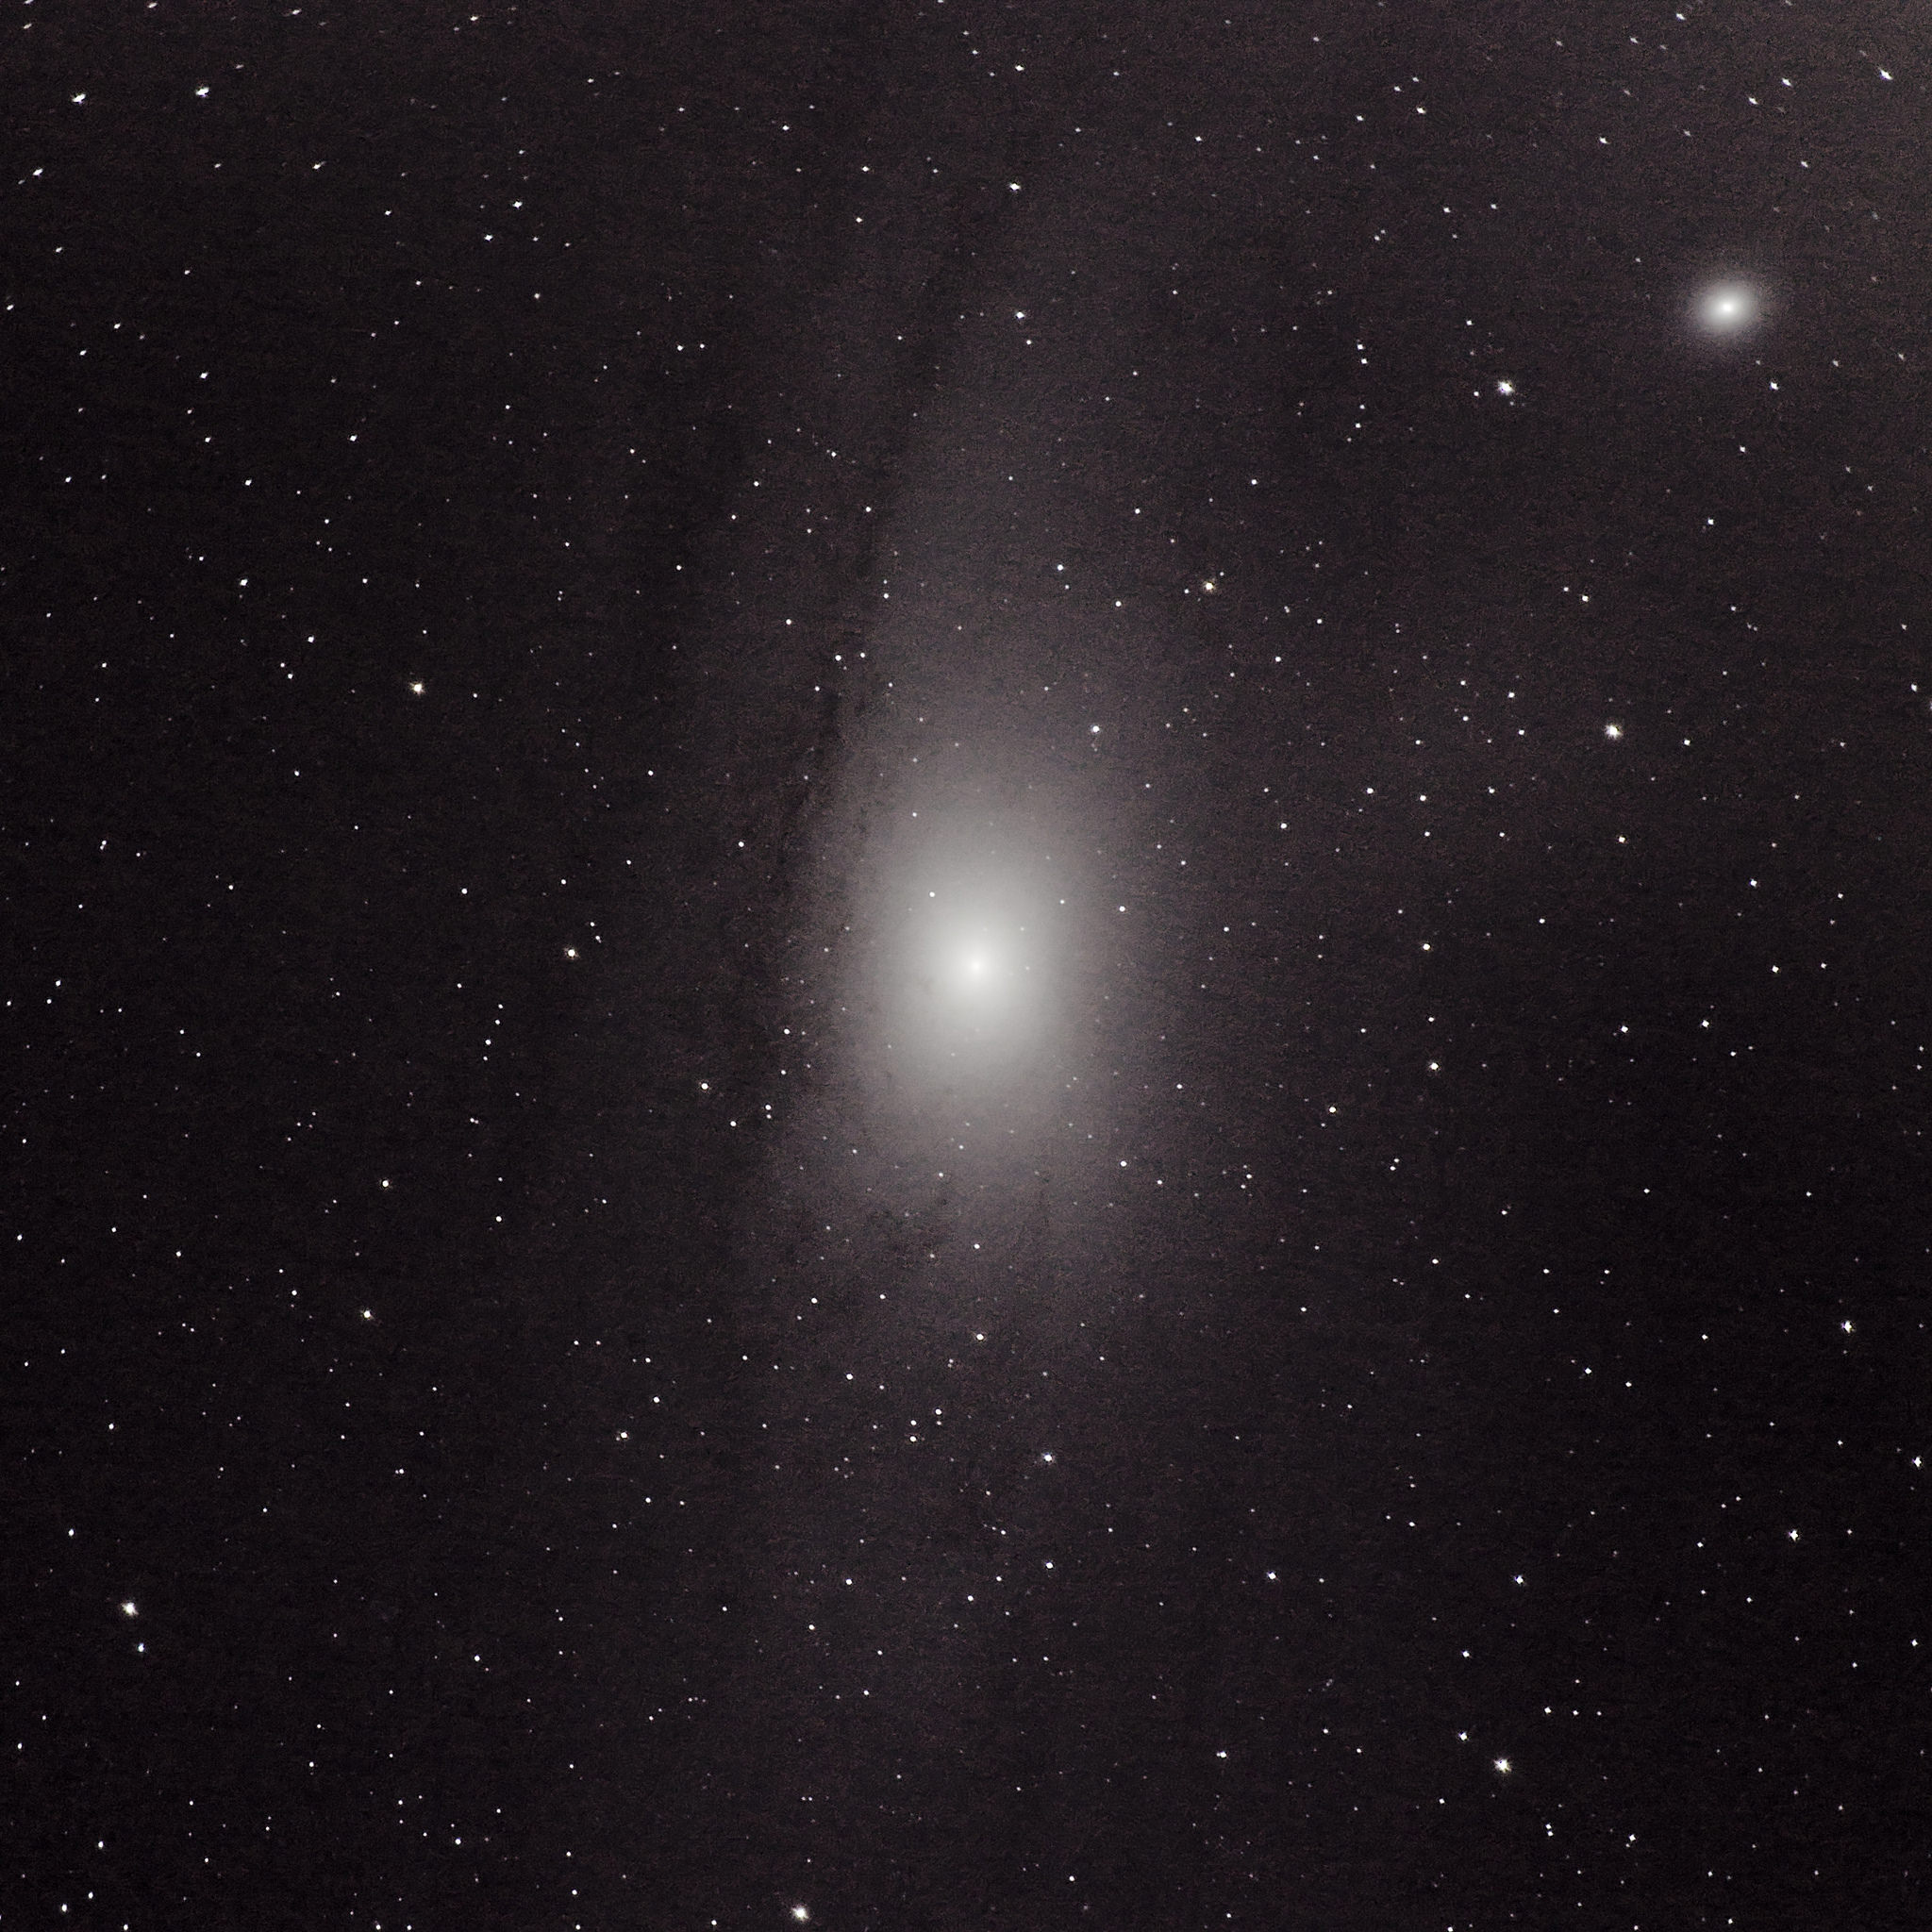
- Subject: Andromeda
- Camera: Sony A7S II
- Telescope: AWB Onesky 130
- Barlow: Celestron 2X
- ISO: 800
- Shutter Speed: 30”
- Total Exposures: 30
- Software: DeepSkyStacker + Darktable
You really don’t appreciate how big andromeda is until you get it into view. Why didn’t I turn the axis of the camera so the horizontal sensor was in line with the plane of the galaxy? I don’t know!
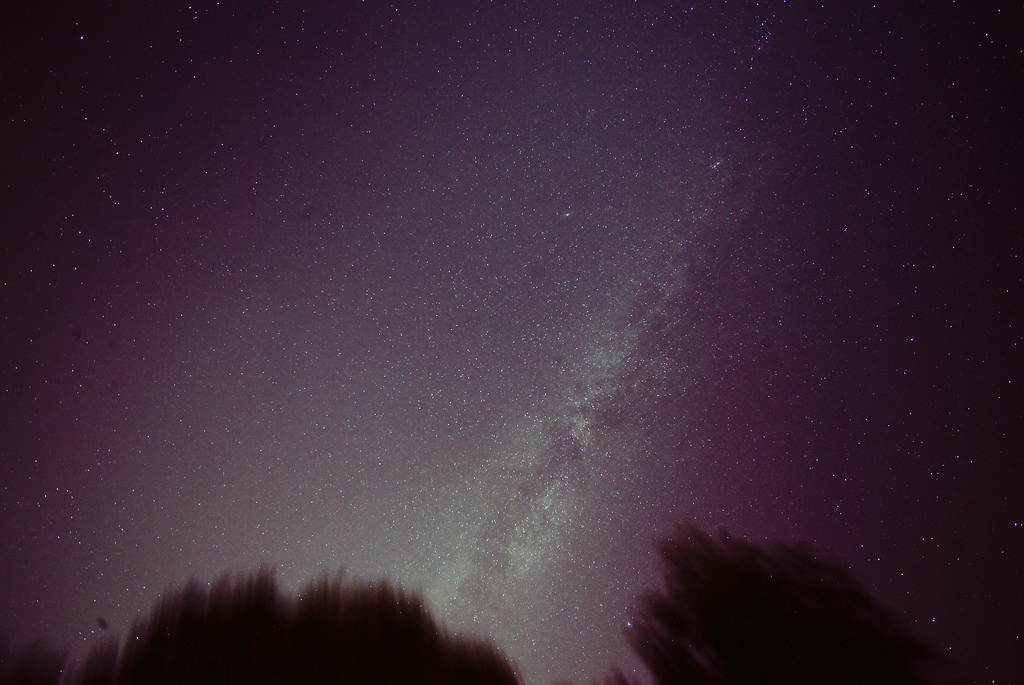
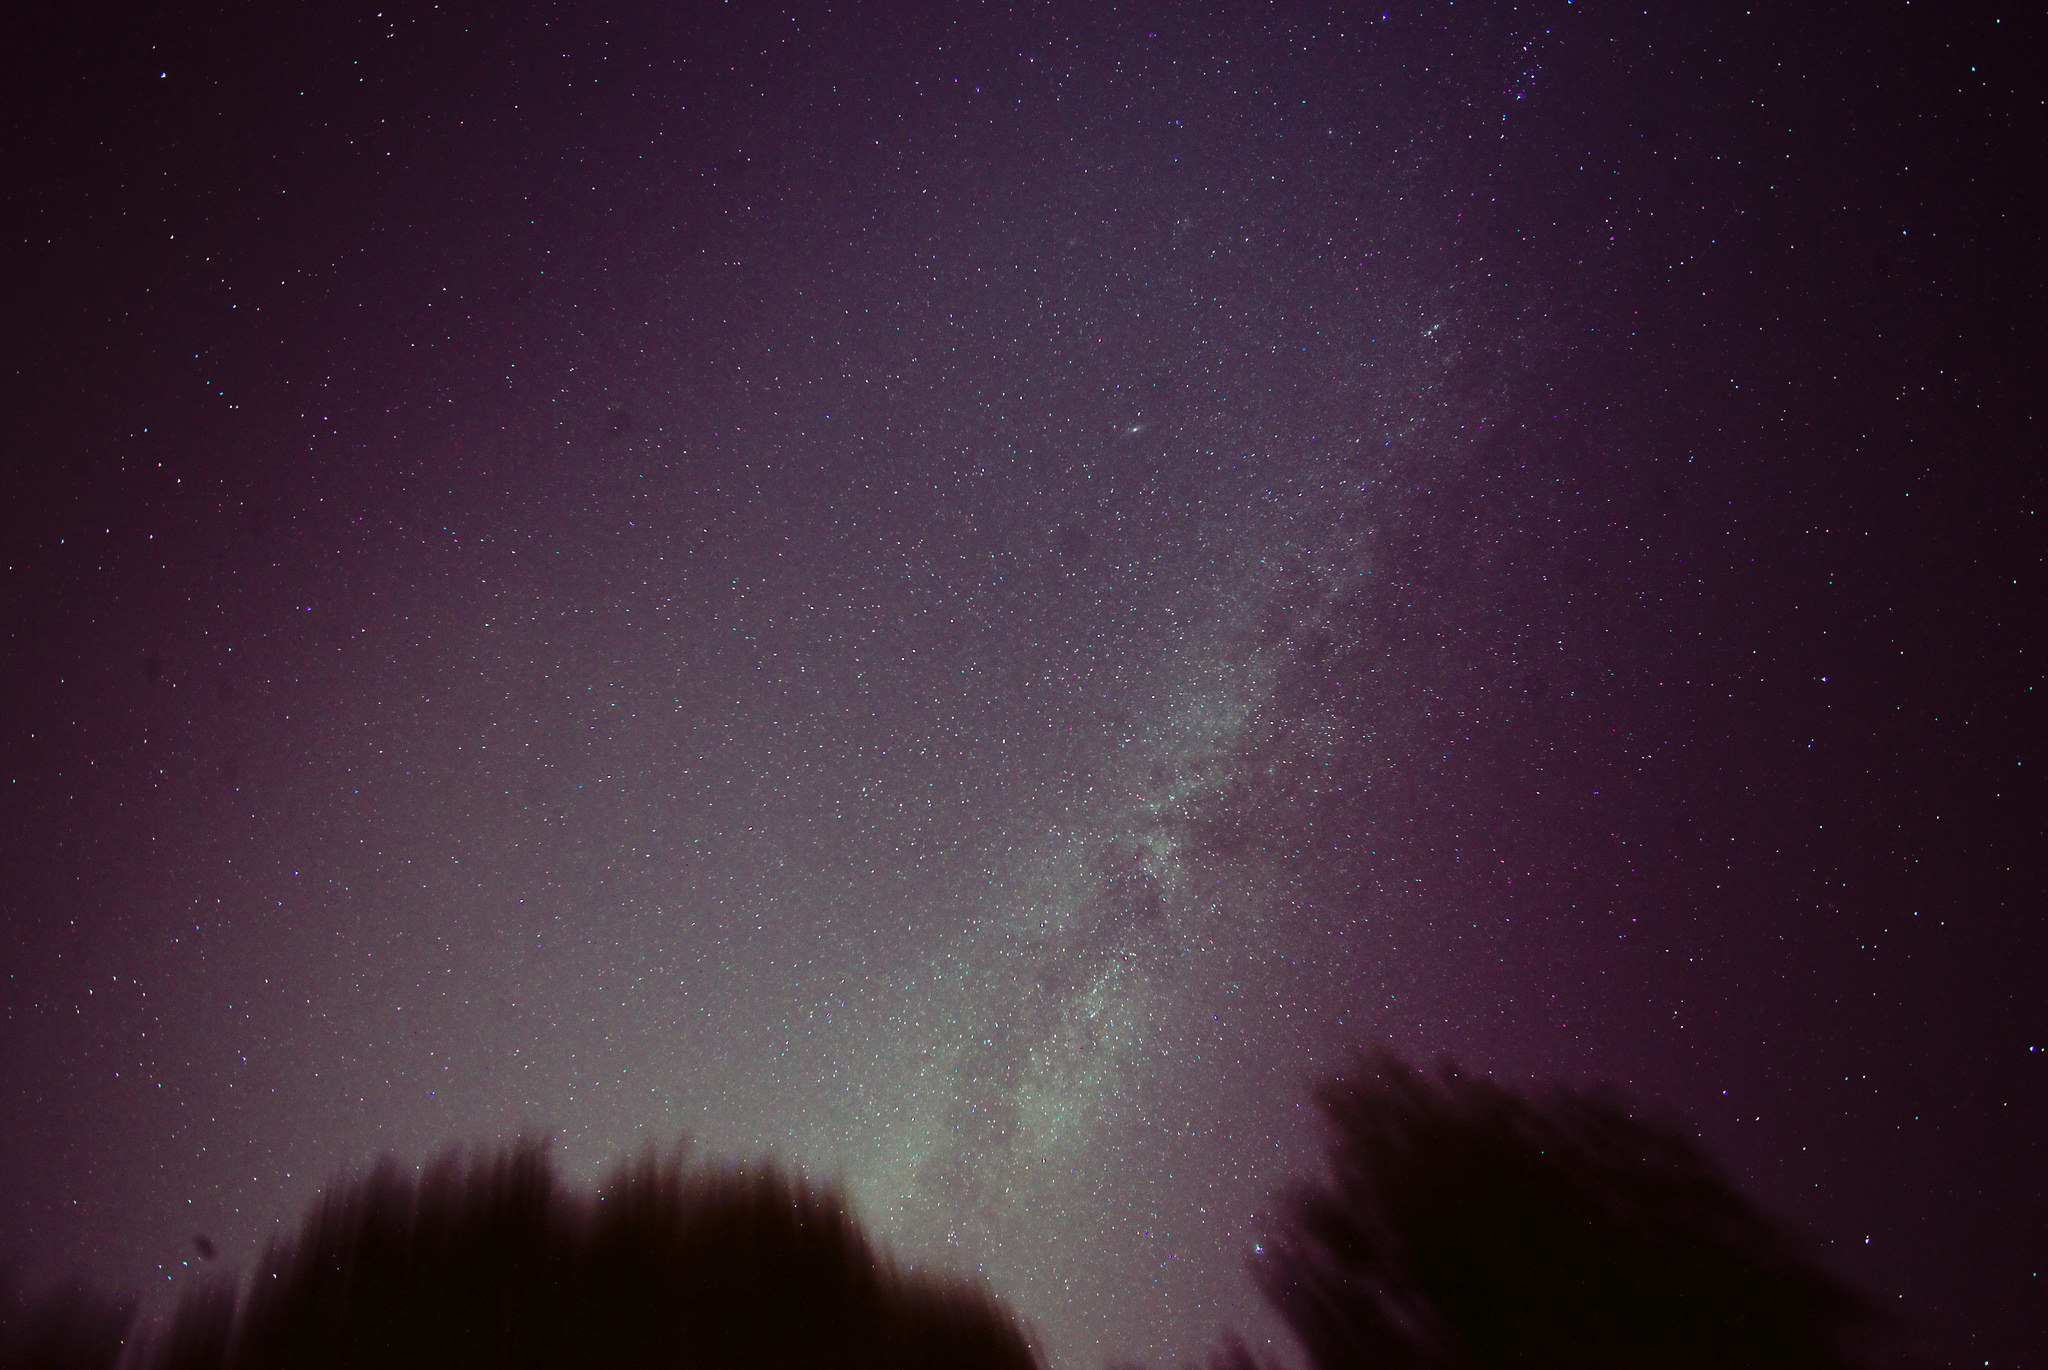
- Subject: milky way and trees
- Camera: Sony A7S II
- Lens: Voigtlander 10mm
- Aperture: f/5.6
- ISO: 640
- Shutter Speed: 30”
- Total Exposures: 30
- Software: Pixinsight + Darktable
Sadly I had no flats for the milkyway. I was able to improvise flats for the telescope and 200mm shots with a paper towel and LED, but this lens’s hood is so short there was just no way. Thus, quite a bit of dust spots evident. Clean your gear, kids. Flats would have also corrected the pretty severe light fall-off. I’ll have to figure out some sort of softbox contraption or just get better at doing them during the day w/ the sun.
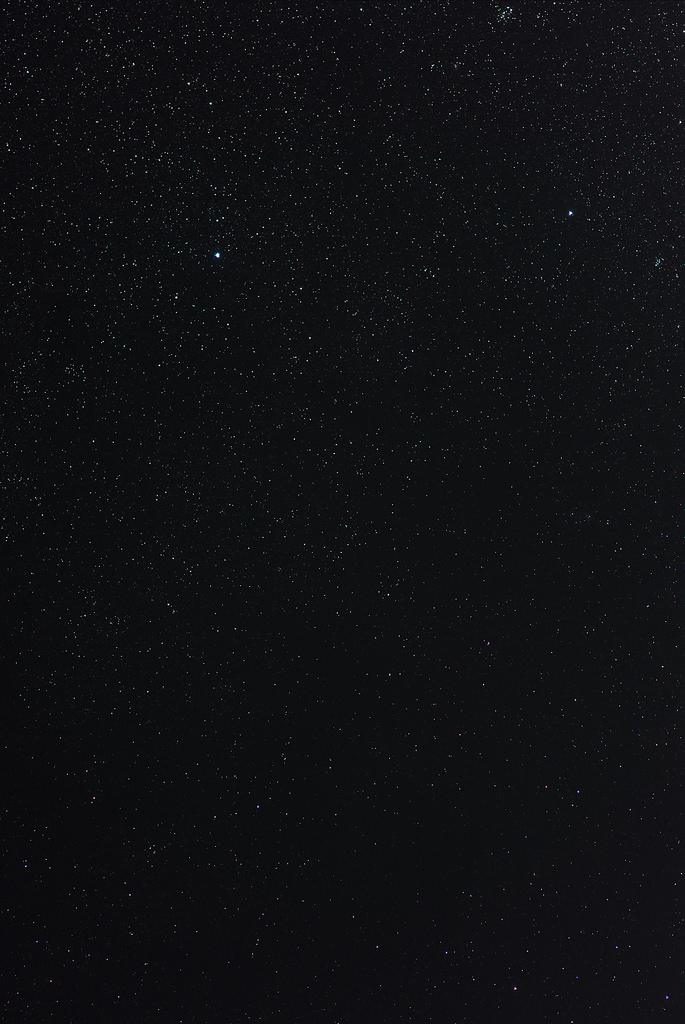
- Subject: widefield near IC59
- Camera: Sony A7S II
- Lens: Canon 200mm/2.8 II
- Aperture: f/2.8
- ISO: 640
- Shutter Speed: 30”
- Total Exposures: 30
- Software: Pixinsight + Darktable
This photo is not particularly impressive since it has no subject per se, but it shows pretty clearly that there was little to no trailing and that the 200mm is pretty impressive for this sort of thing – no visible coma in the corners at all. I wish now I had pointed it at andromeda instead of or in addition to using the telescope – I think it would have come out nicely, despite being a wider field of view (turns out Andromeda is huge).